
The waiting is over, the Silhouette* Cameo 3 is finally here.

After a waiting period of more than 2 months, our Cameo 3 cutting plotter has finally arrived. OK, I’ll admit it belongs to my wife. But nevertheless I would like to introduce this product here and show you, what you can do with it.
The Silhouette Cameo 3 is a hobby plotter.
What exactly is a plotter? Simply explained, a plotter is a kind of printer that does not print but cuts out the created image. Just a cutting machine.
The plotter cuts paper, foils, fabric and, with the right attachment, can even engrave and paint.

Personally, I also work with the airbrush every now and then in my spare time. I build model cars and then paint them. For me, the cutting plotter is therefore ideal for creating masking templates. Finally I don’t have to cut my masking foil with a scalpel anymore.
Vinyl adhesive foils can also be used to apply stickers for cars and other vehicles.
And yes, he can even paint! There are special pins for the device which are inserted into the knife holder. Thus, the plotter is misused as a small printer.
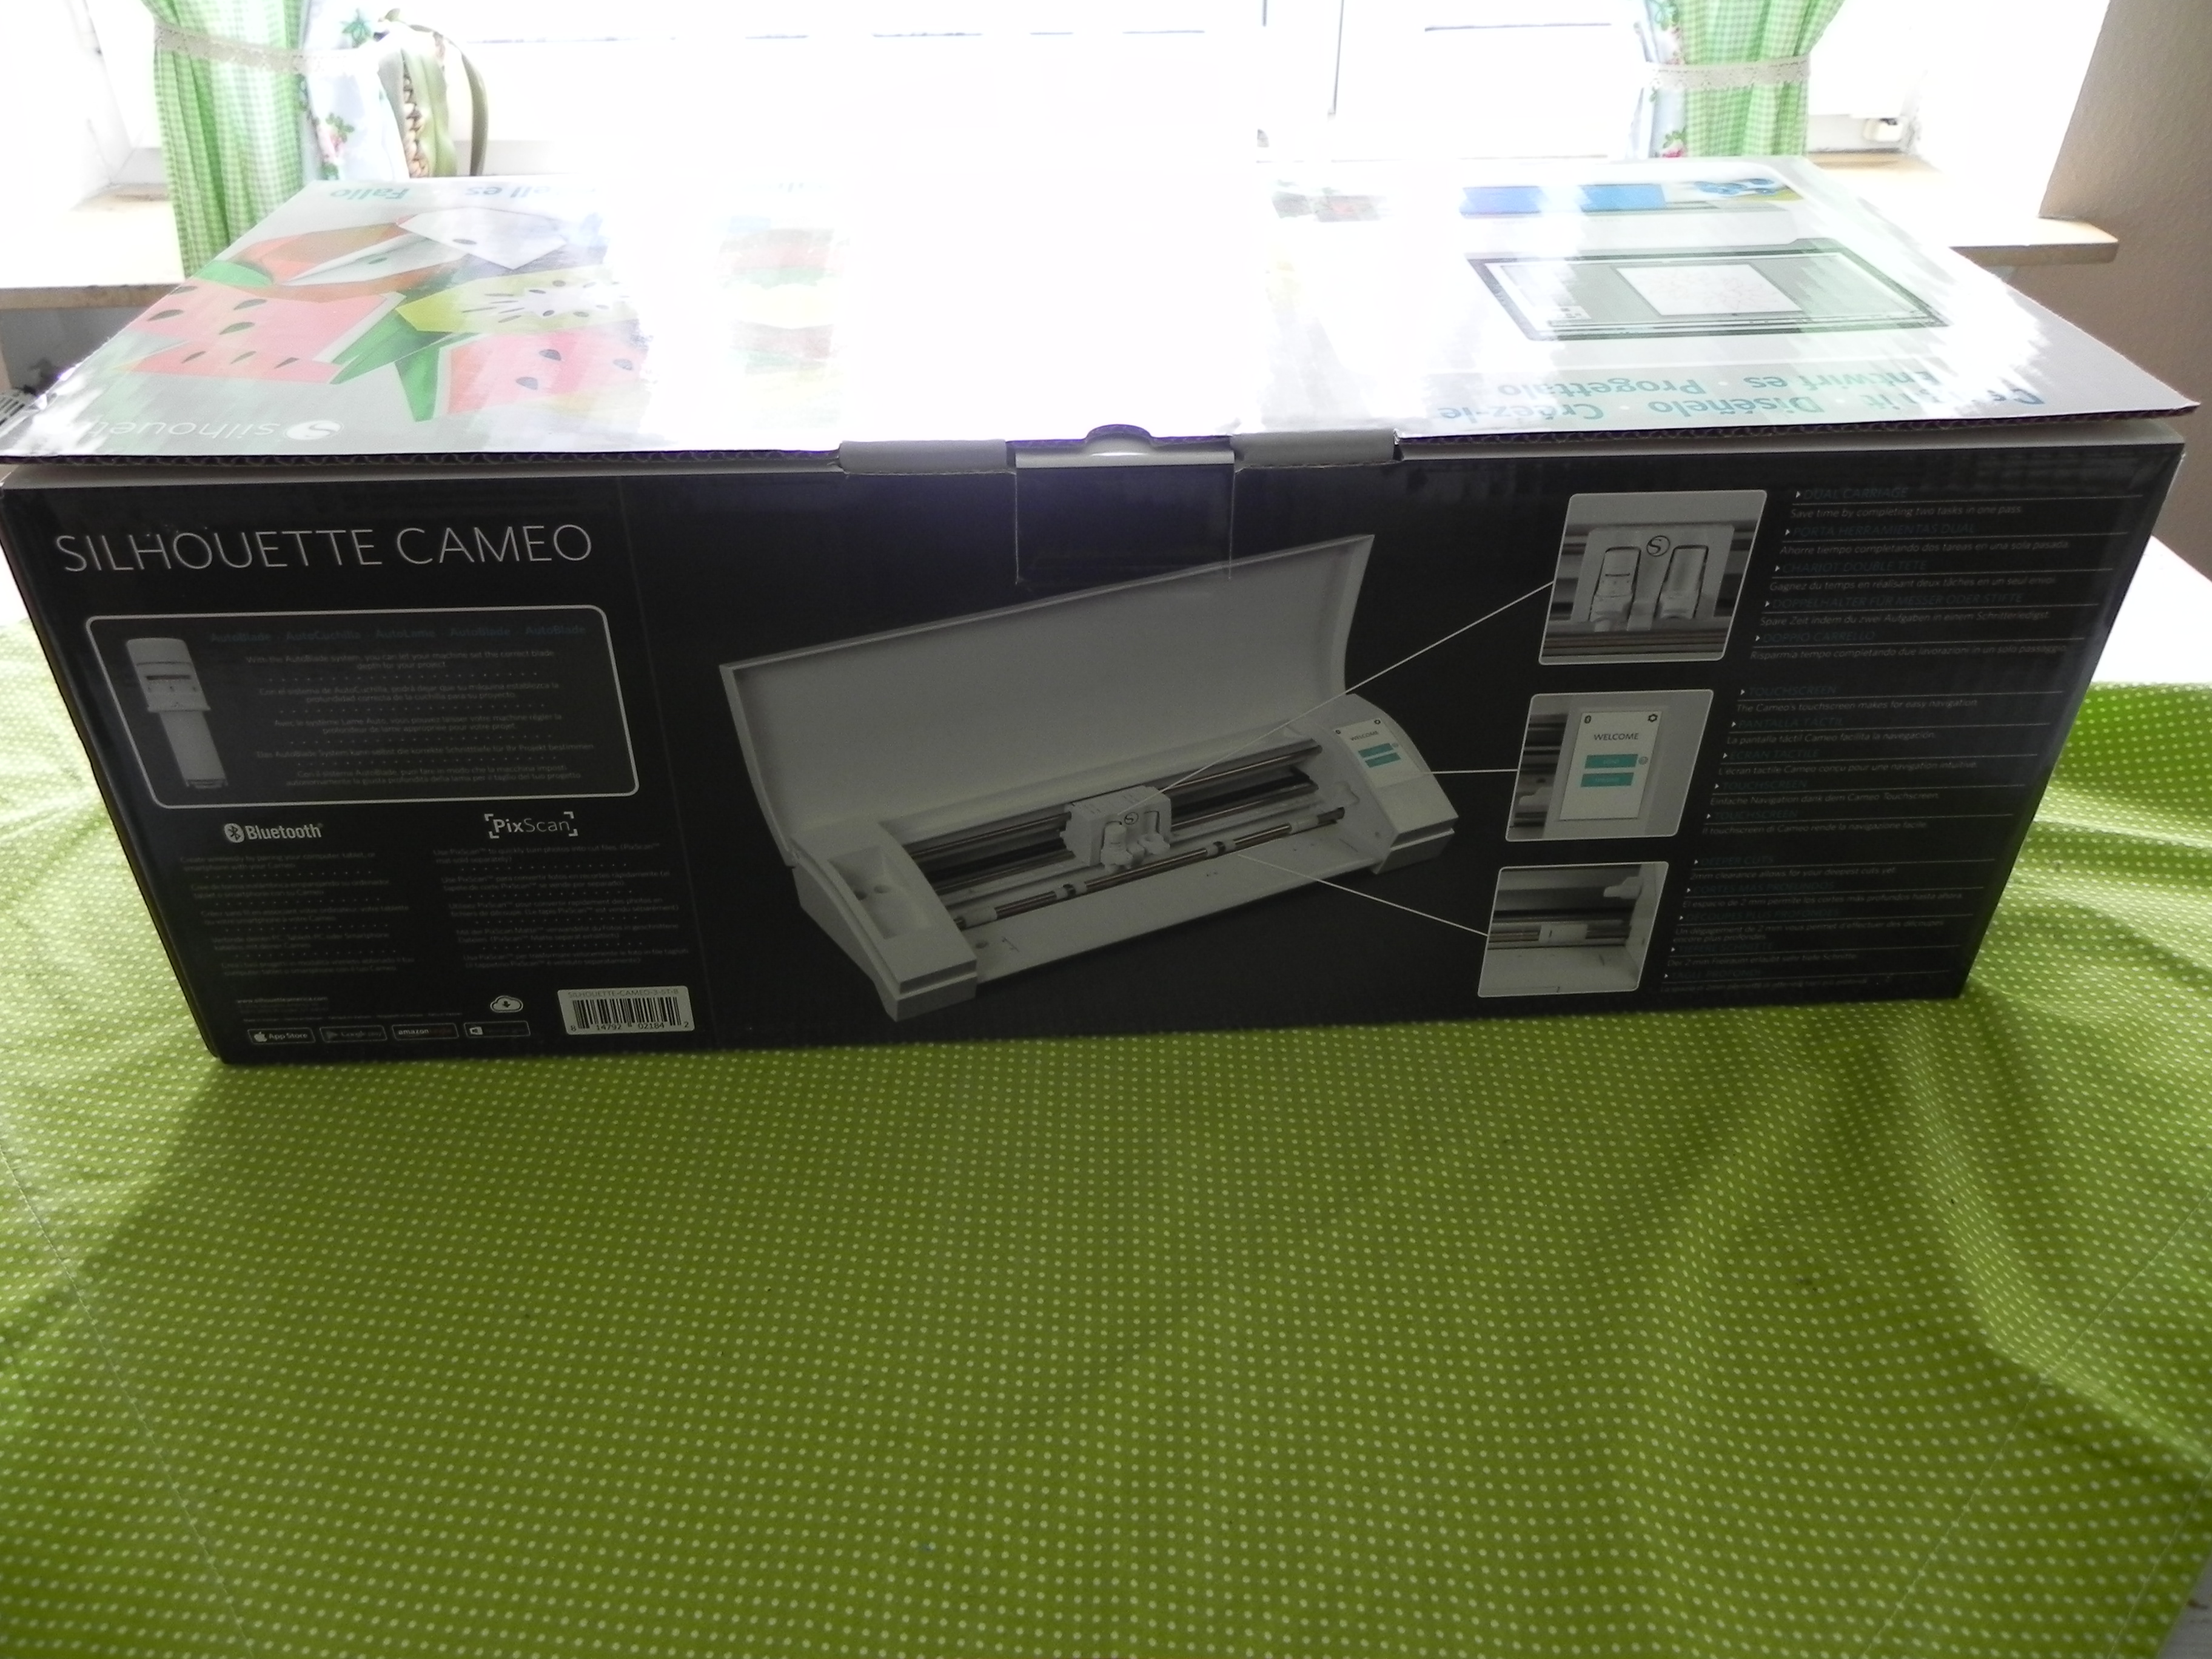
The great thing about the Silhouette Cameo 3 is the automatic knife compared to its predecessor.
Depending on the software settings, this automatically adjusts itself to the selected cutting depth.
The software also includes many presetting s for different materials.
Setup

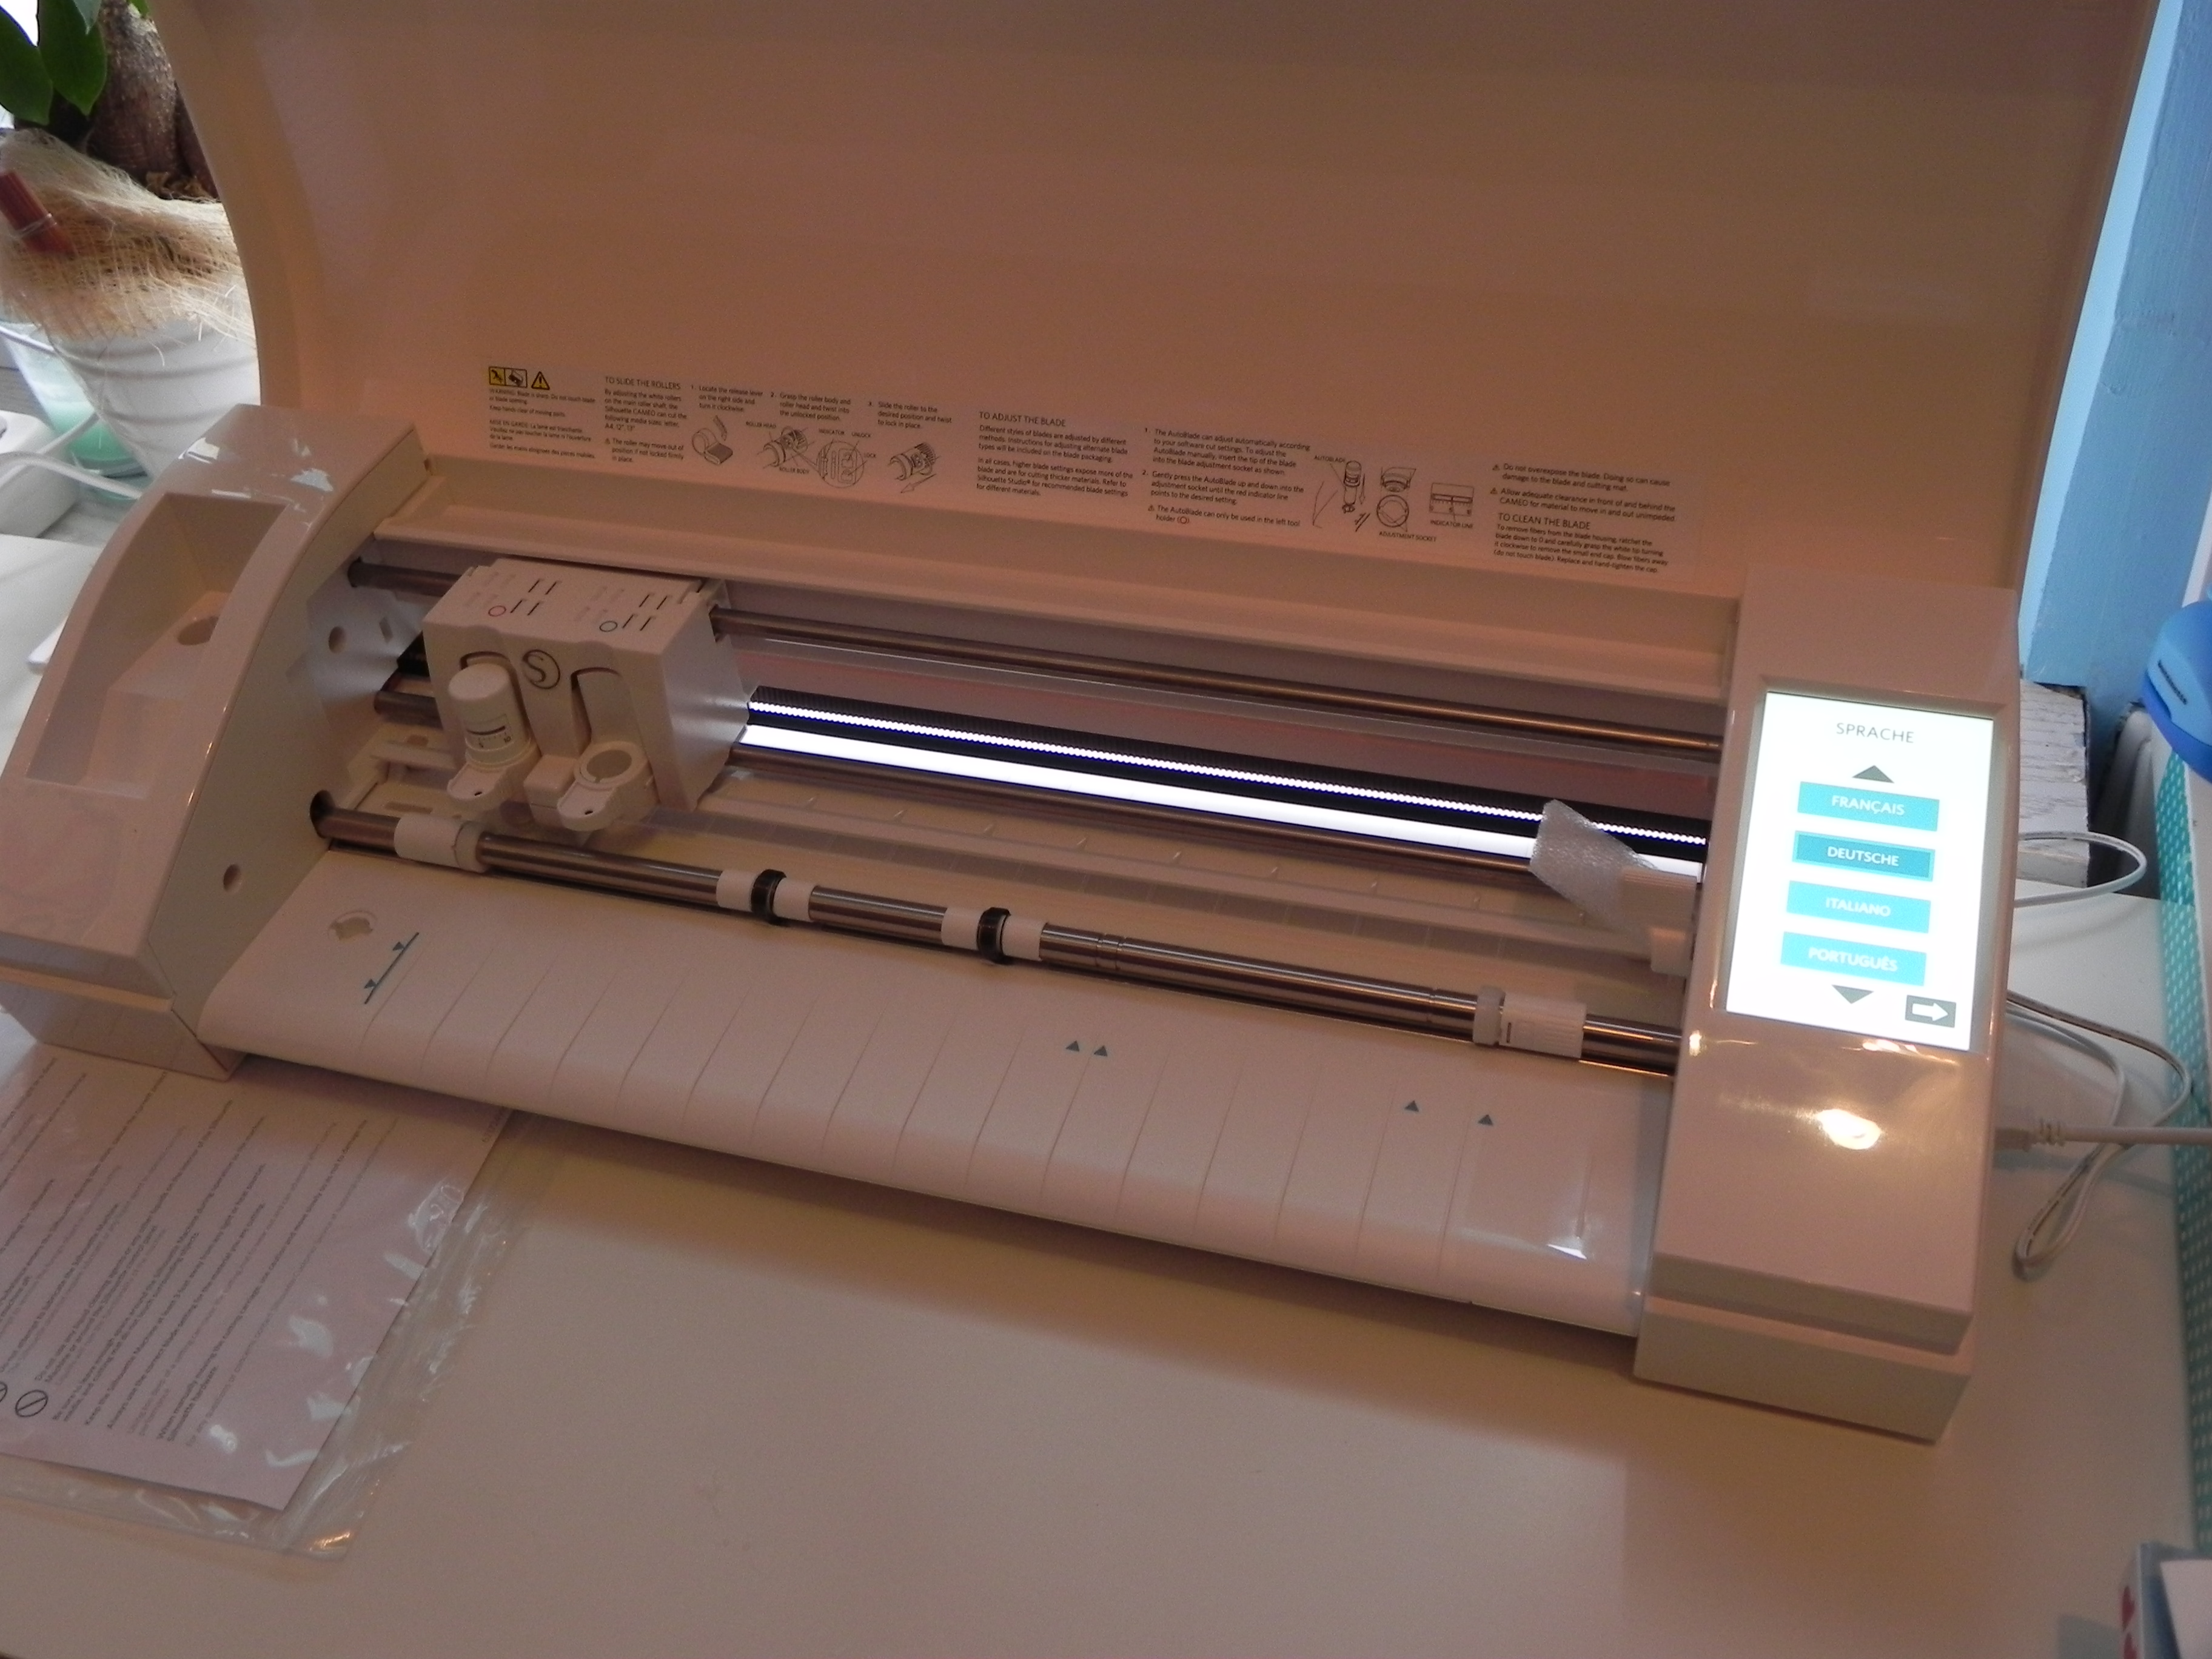
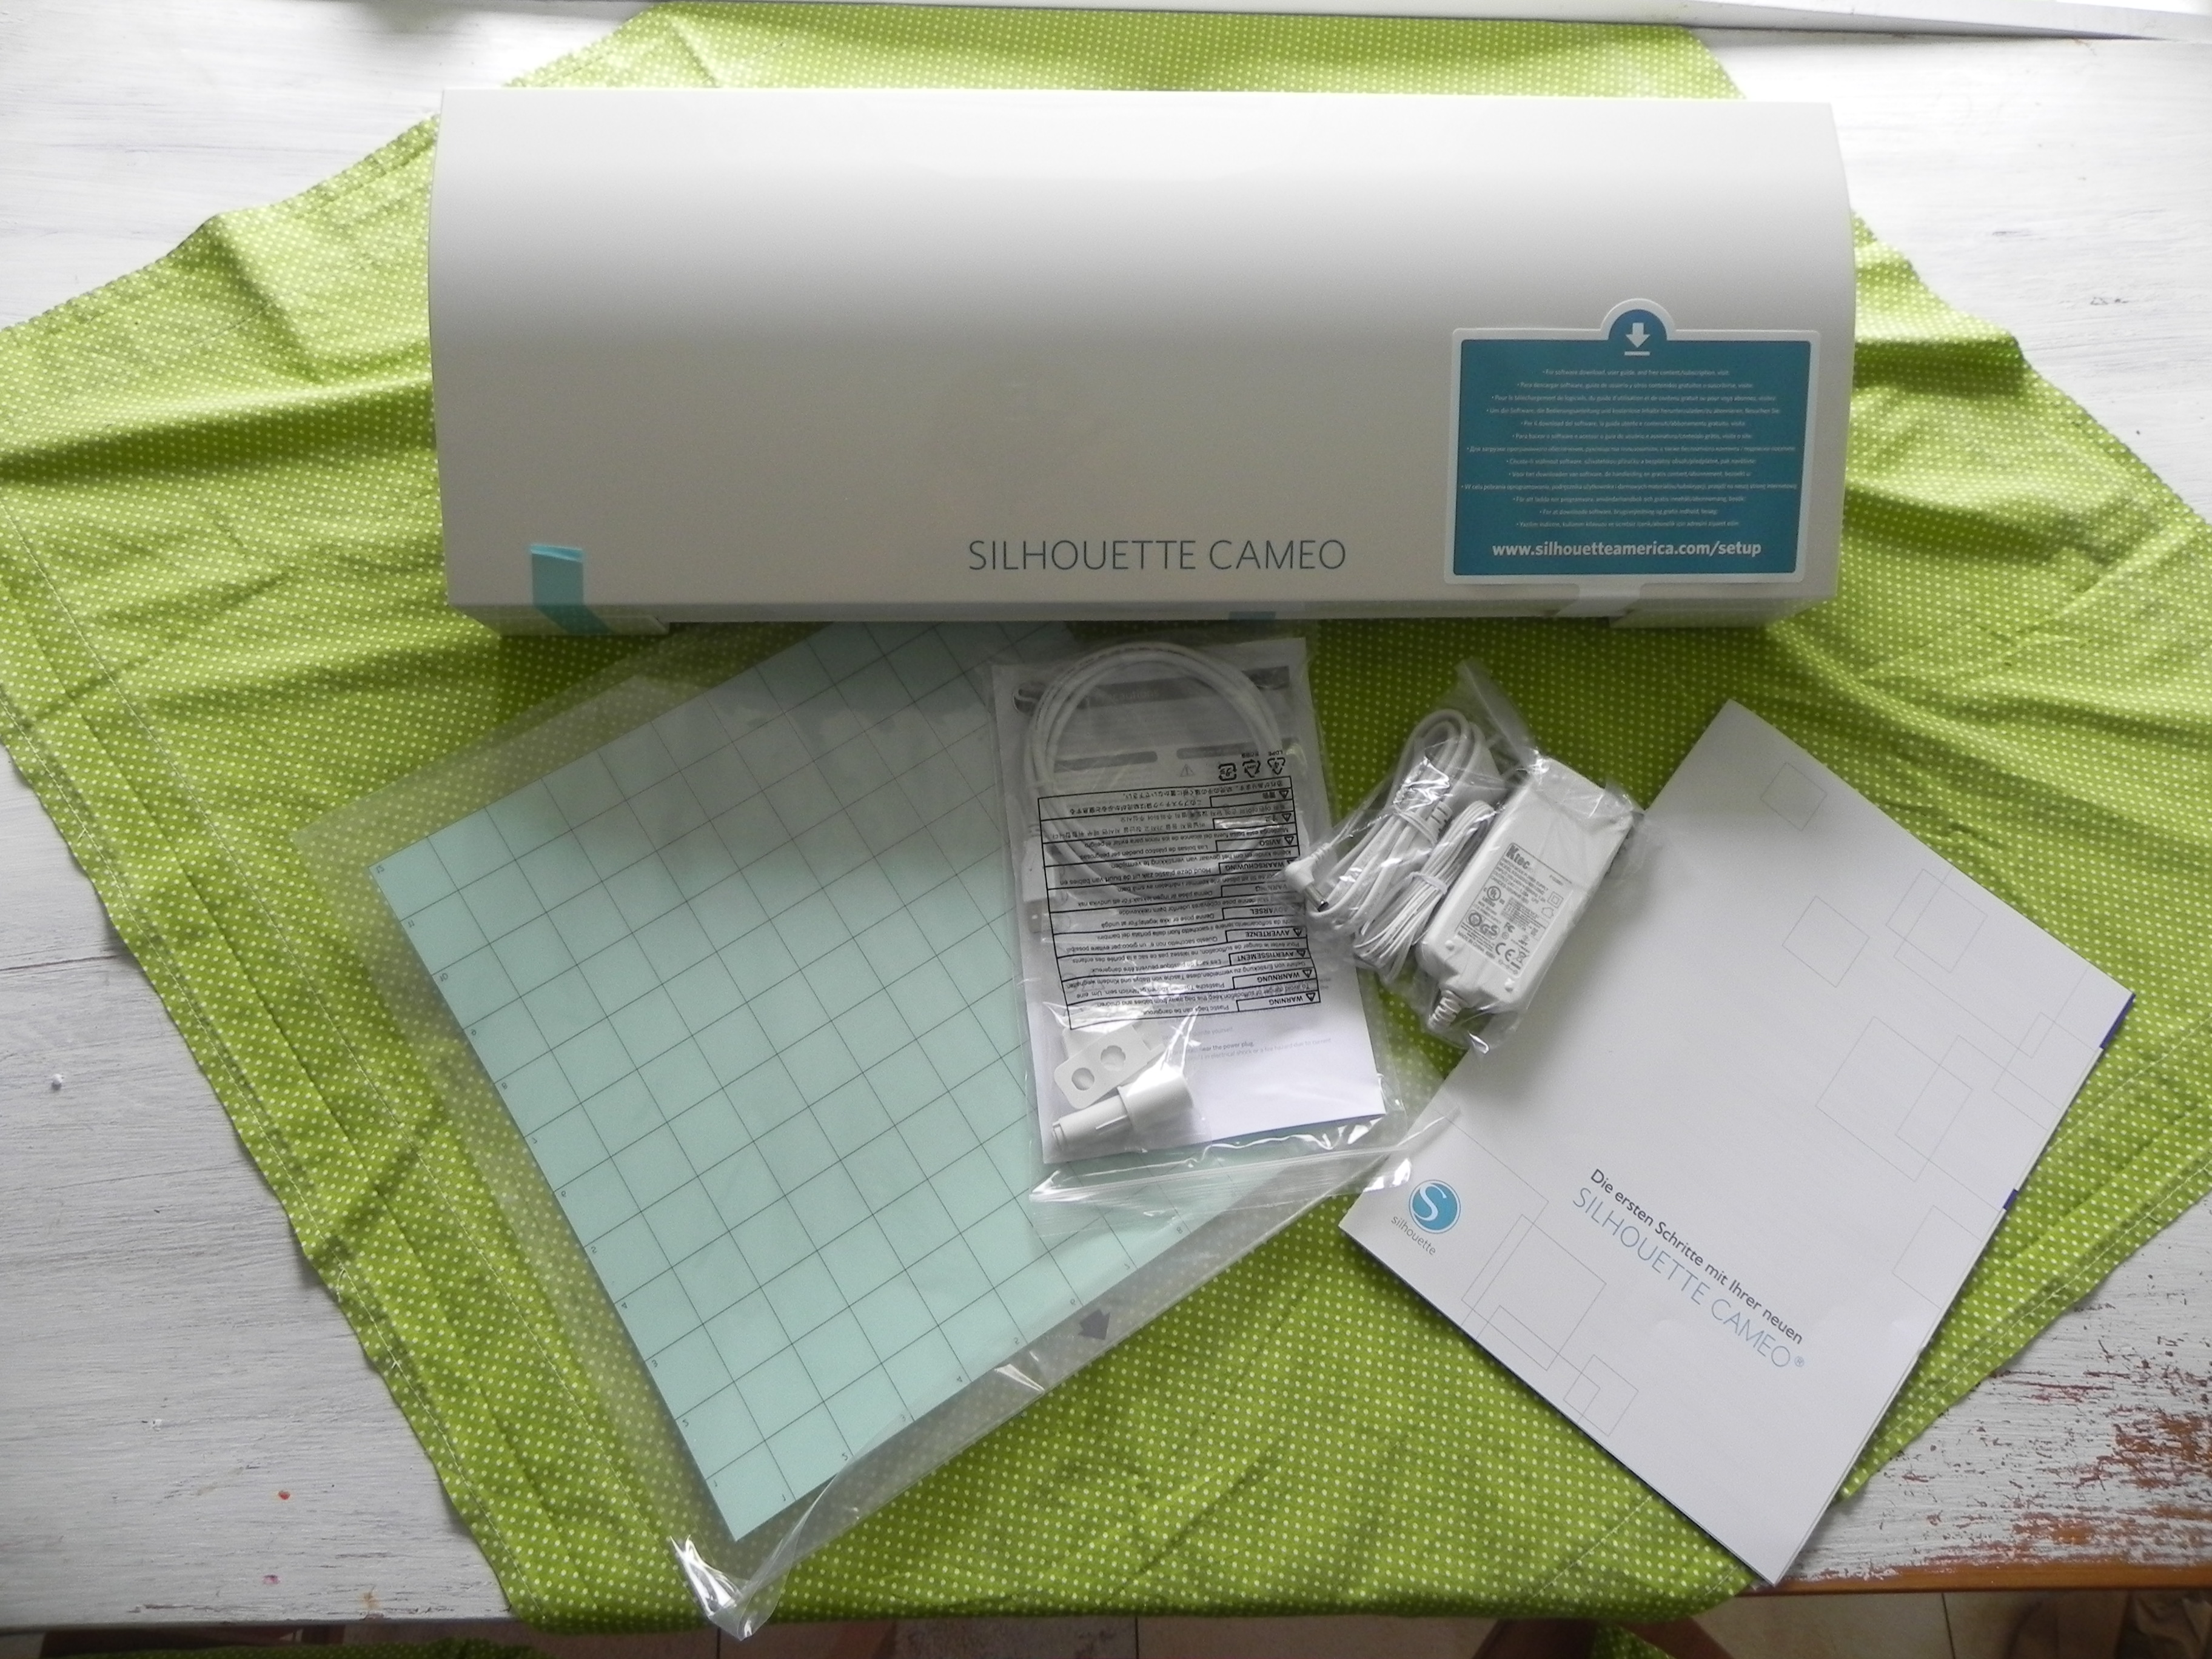
The construction and setup of the device is quite simple. The device is supplied with a Power Cable, 1x USB Cable, a cutting mat and the automatic knife.
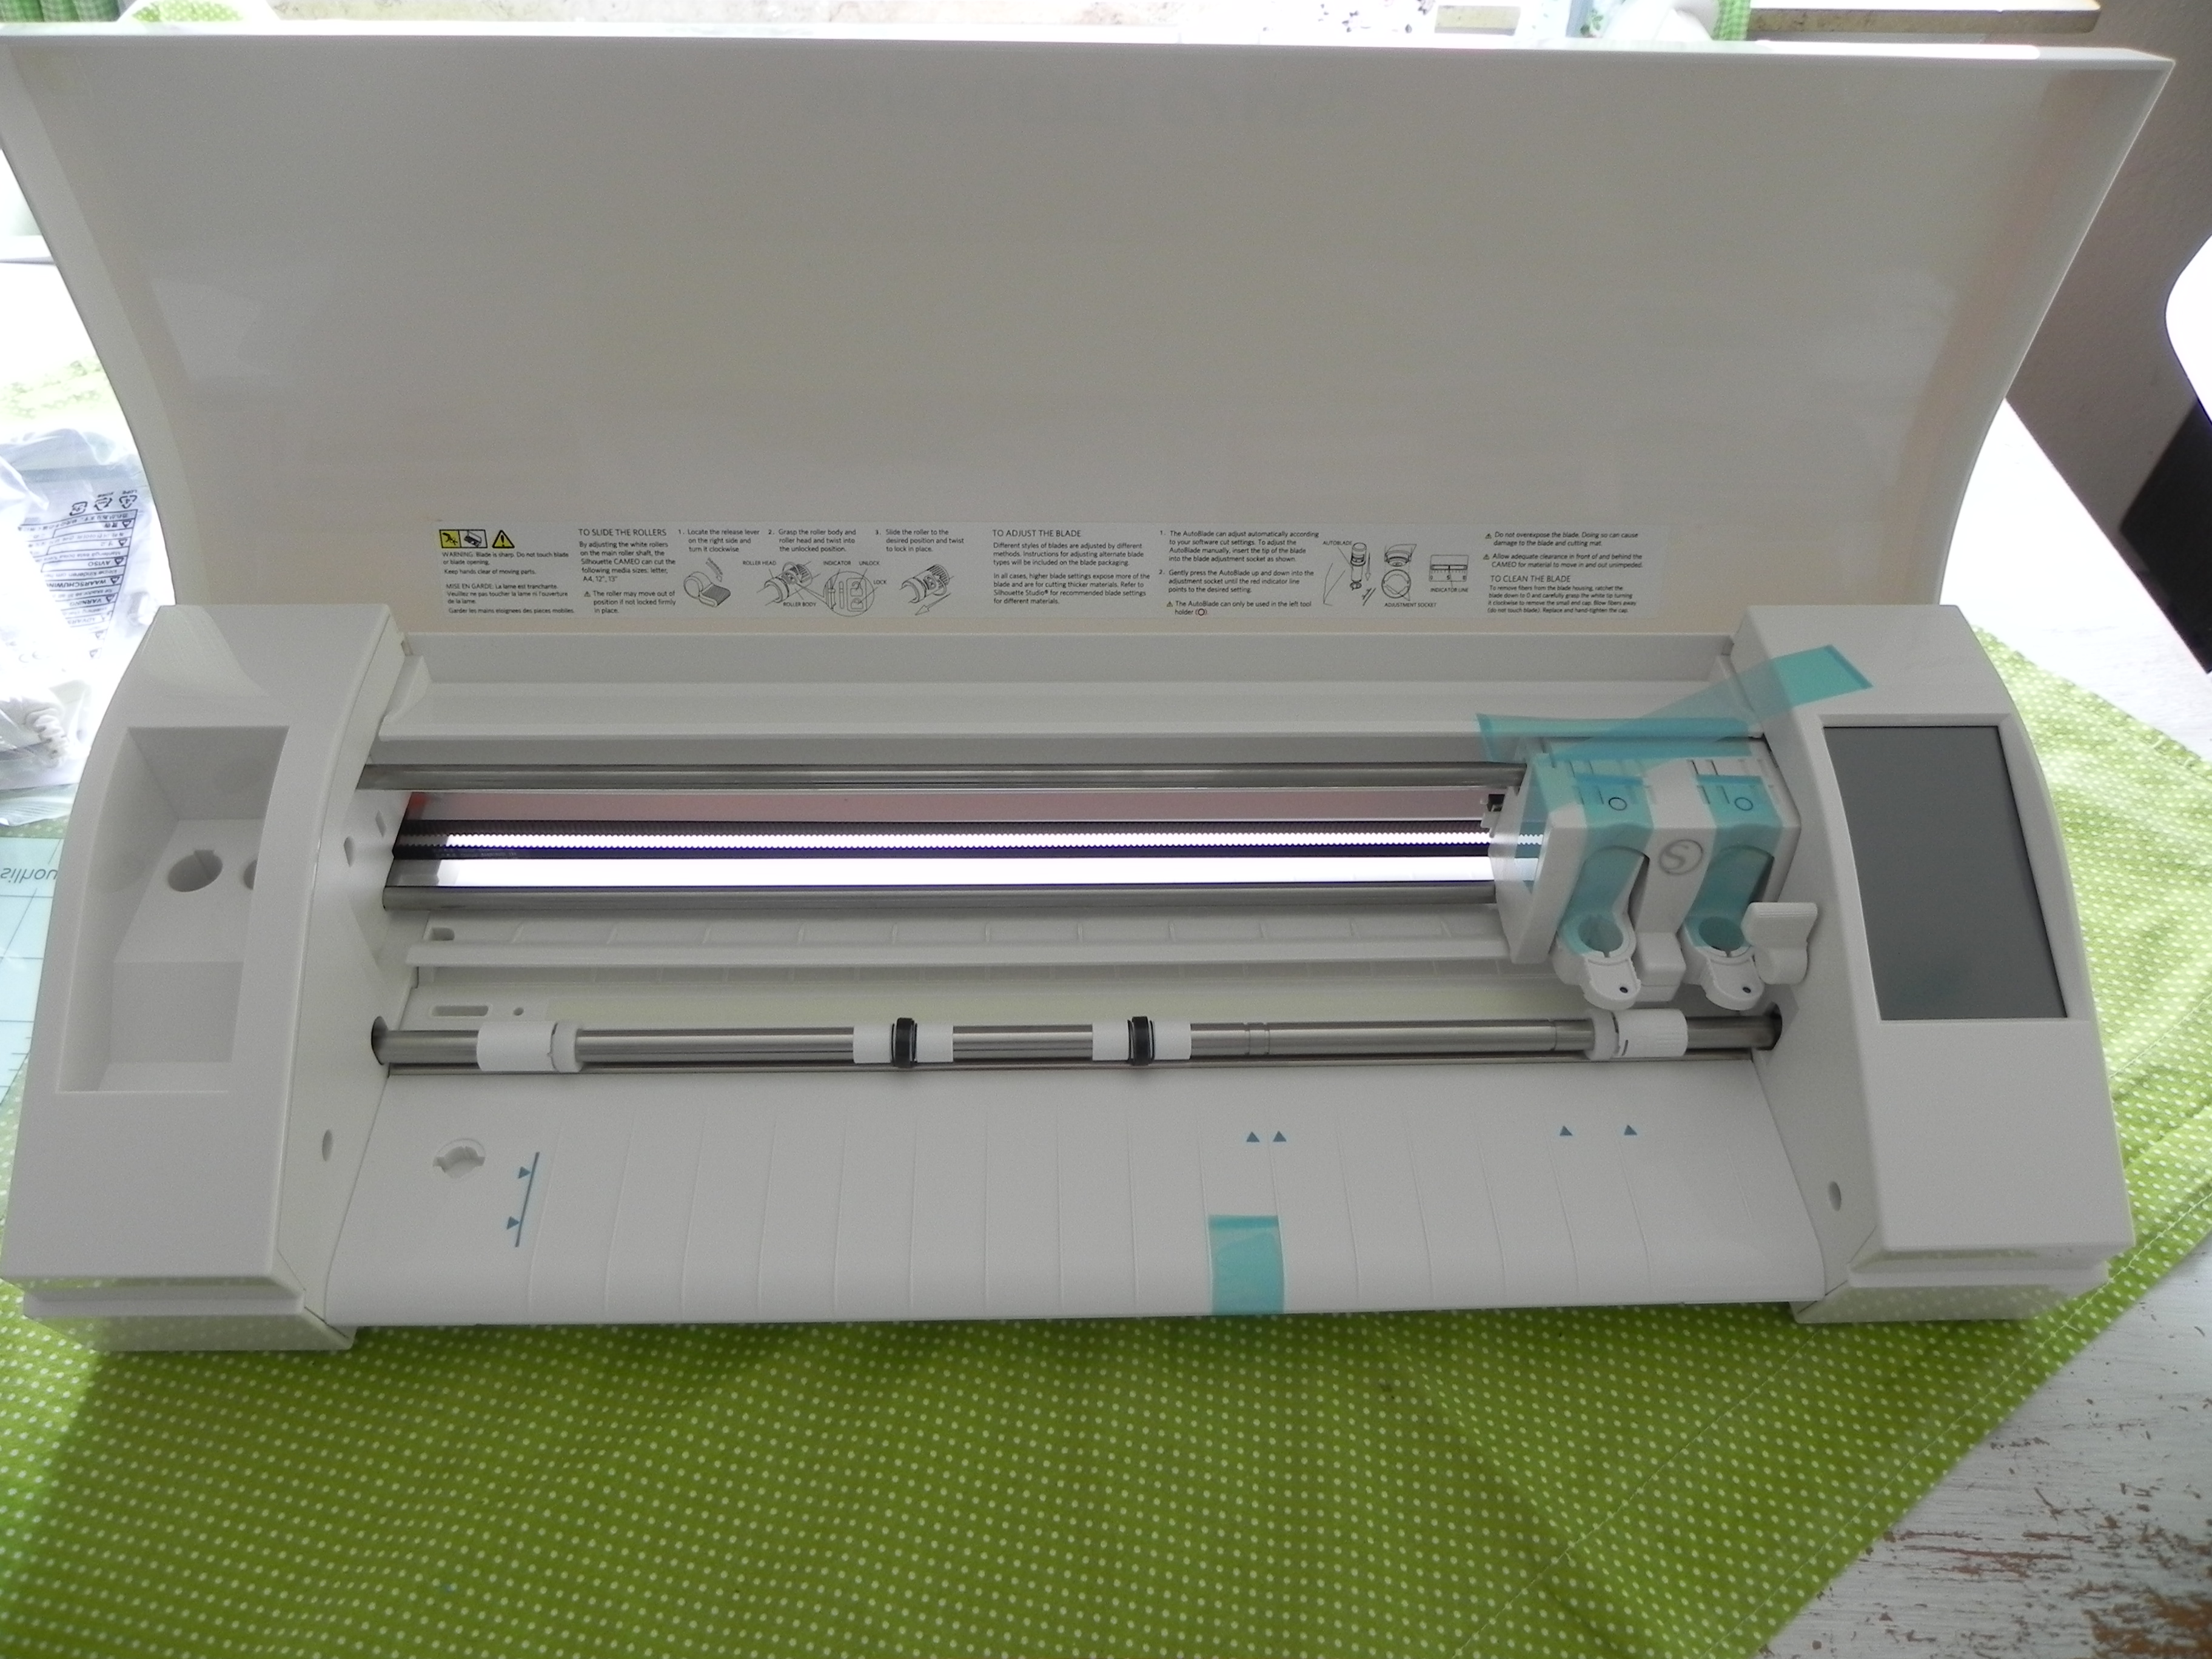
After removing all adhesive strips and polystyrene plates from the unit, the automatic knife is inserted into the left holder (the automaic knife may only be inserted into the left holder!). Then install the Silhouette Studio software. The software installs the plotter driver at the same time.
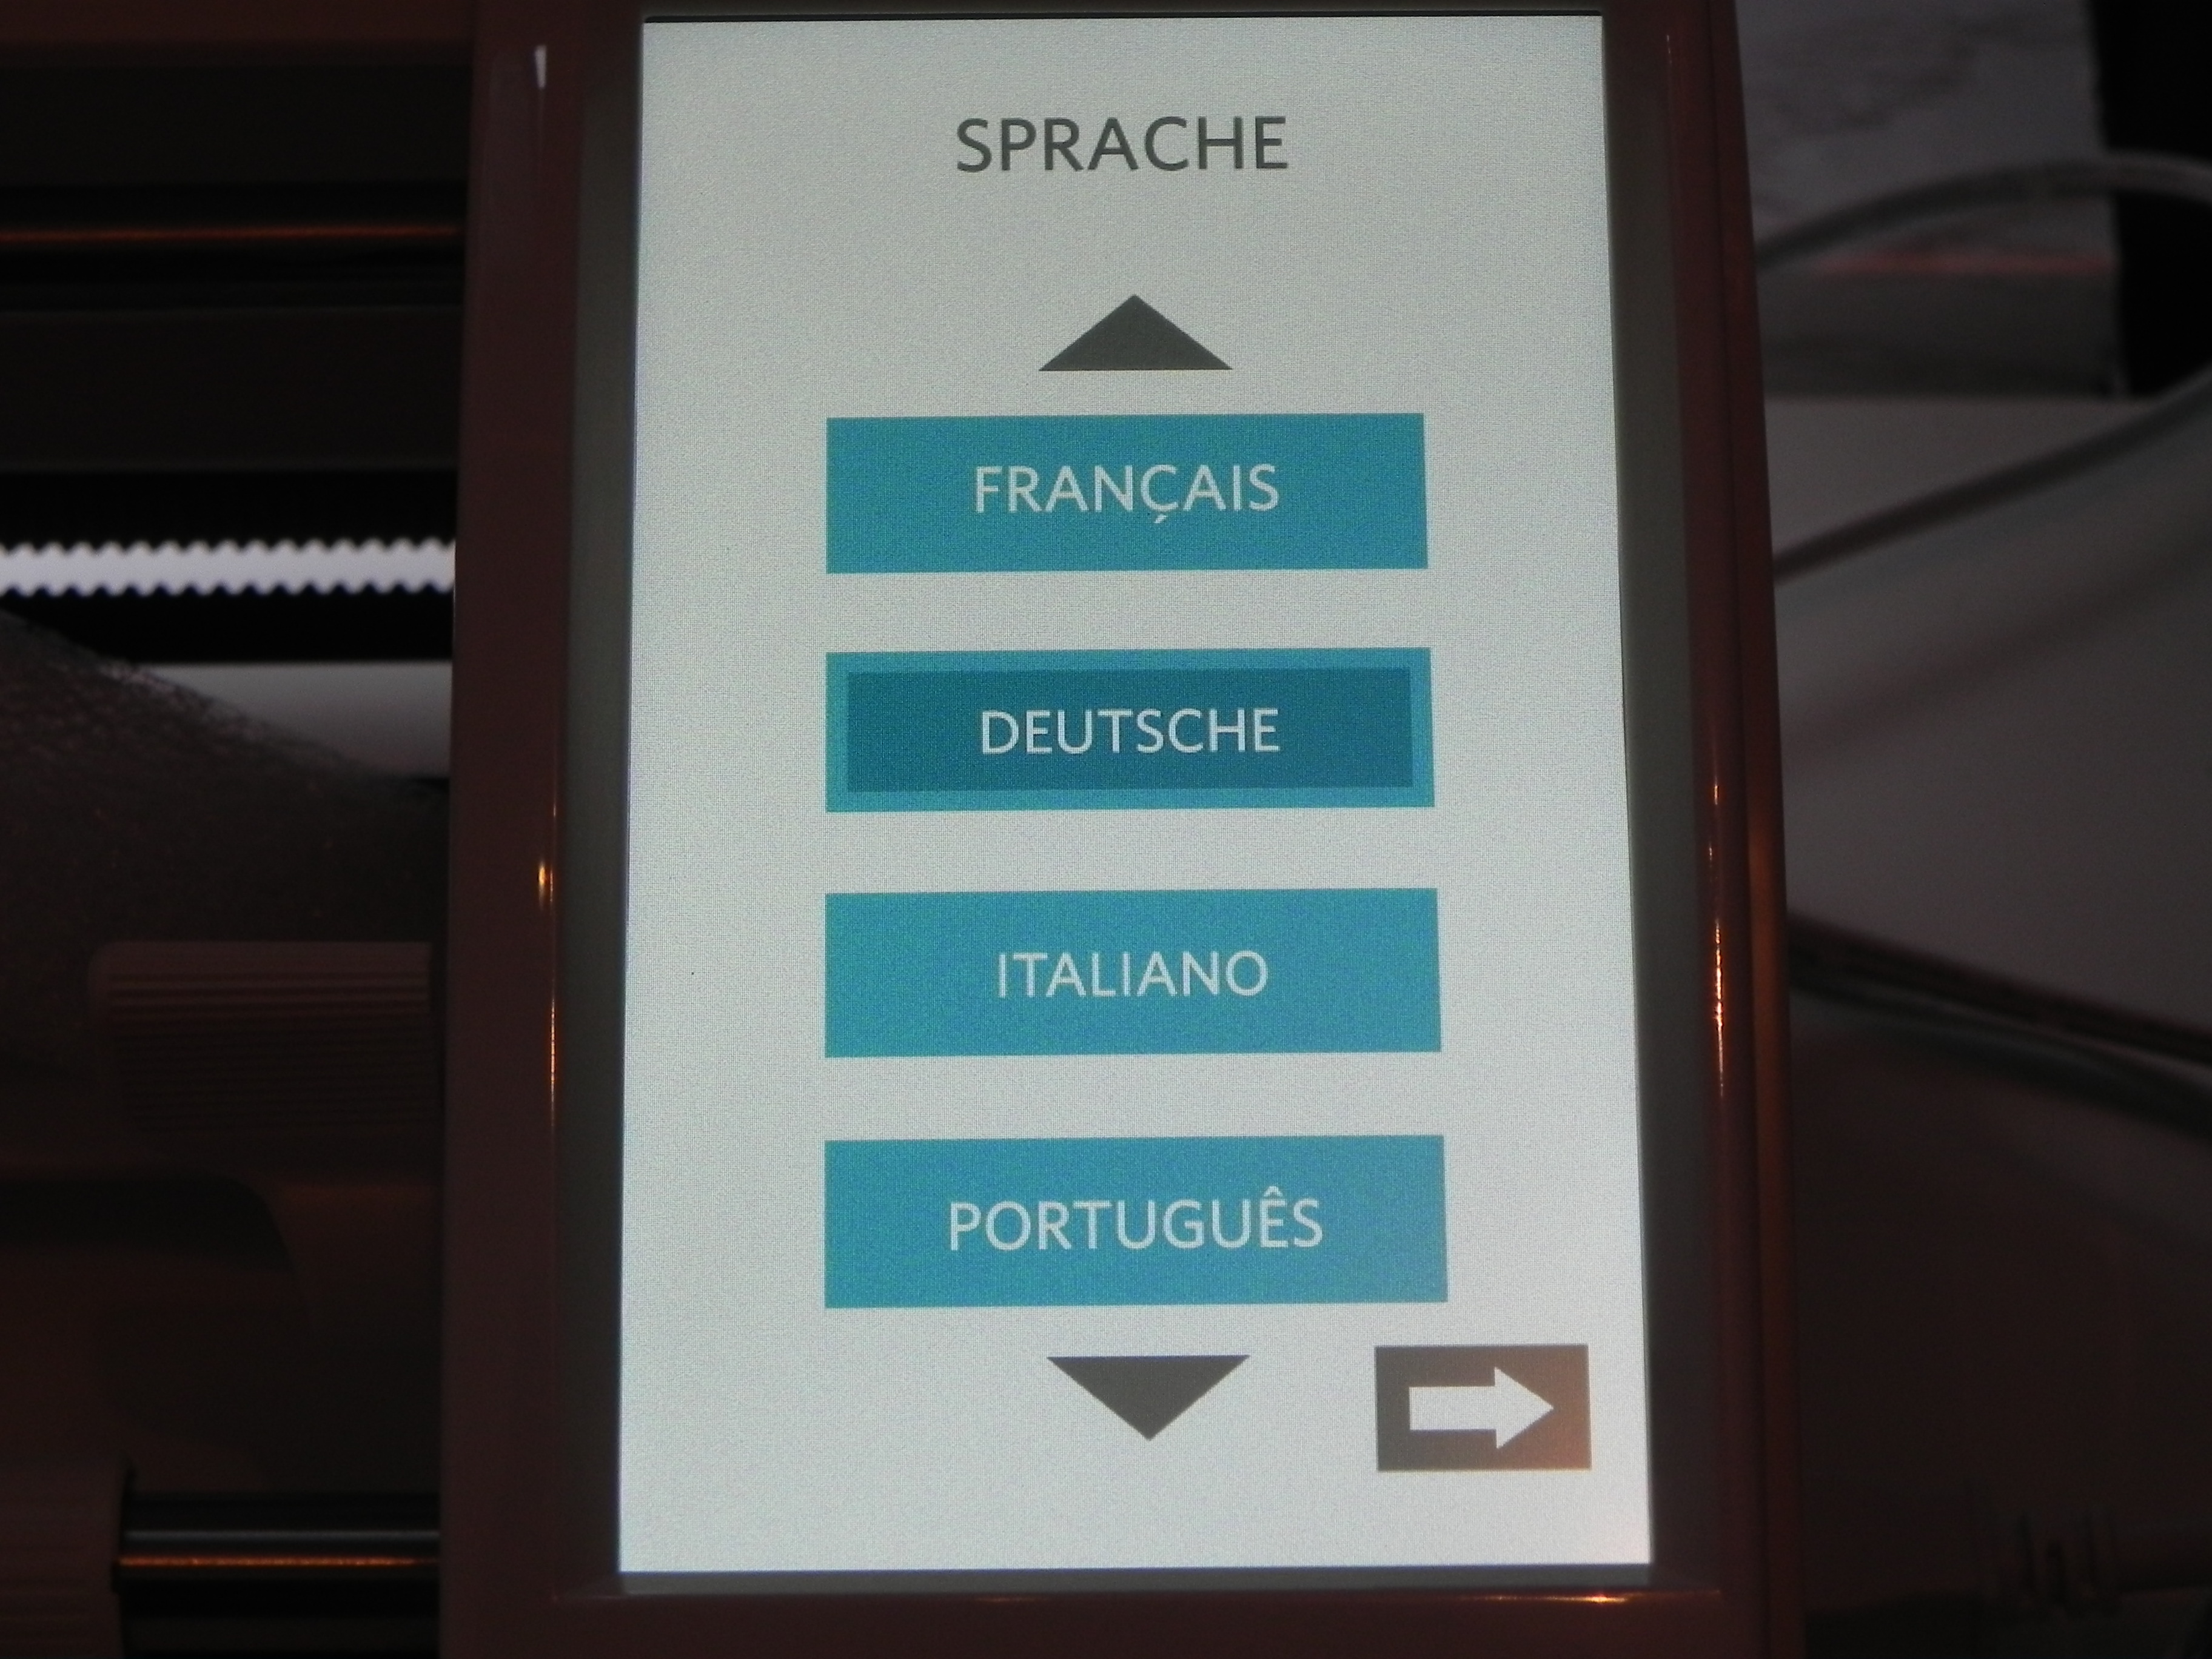
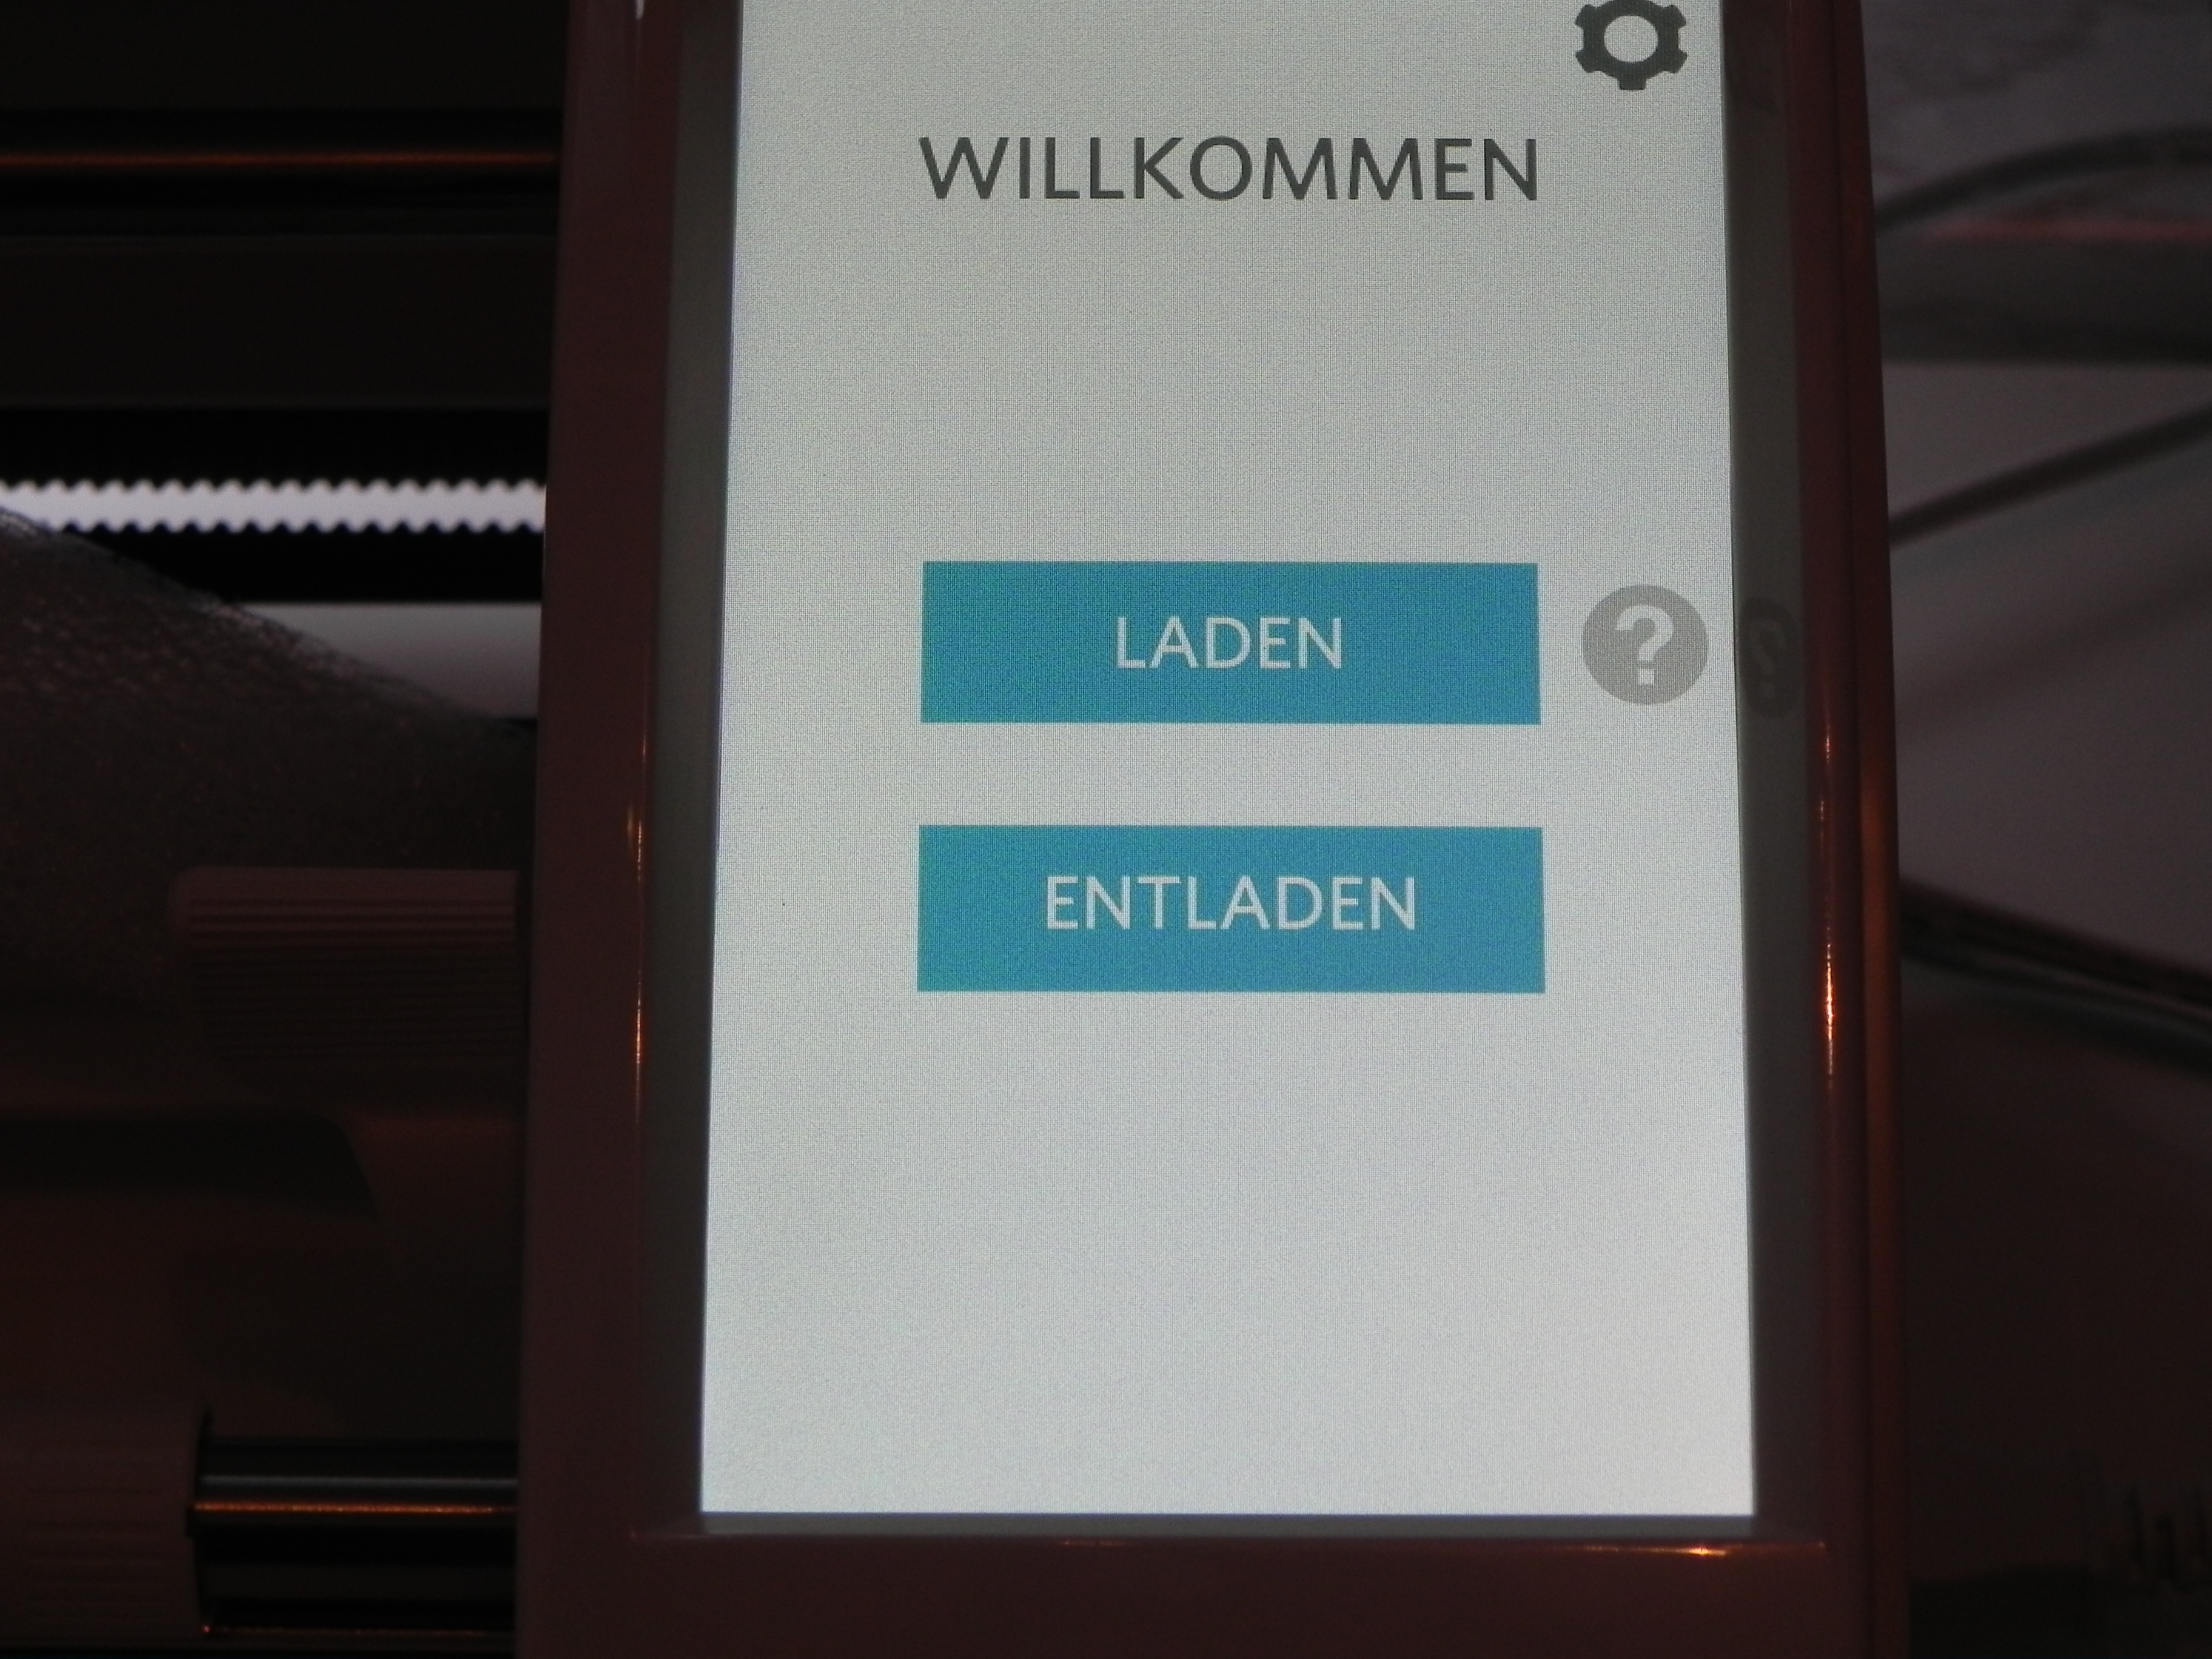
Now connect the plotter to the USB Port and power, switch it on and select the language in the menu. The plotter should now also be automatically detected on the PC after starting the software.
Please note that it is a plotter and not a printer. This means that it may not appear in the list of printers and network sharing, etc. is not possible.
If you don’t want to work via USB, you can also connect the plotter to your notebook or PC via Bluetooth. I haven’t tested the Bluetooth connection yet.
The Software
GMKtec Mini-PC G3 PRO geringem Stromverbrauch (10 W), Intel Core i3-10110U (bis zu 4,1 GHz, übertrifft 3500/4300U), 16GB DDR4-RAM, 256GB M.2-SSD, 2 * 4K HDMI/USB 3.2/Wi-Fi 6/BT 5.2/2,5G LAN.
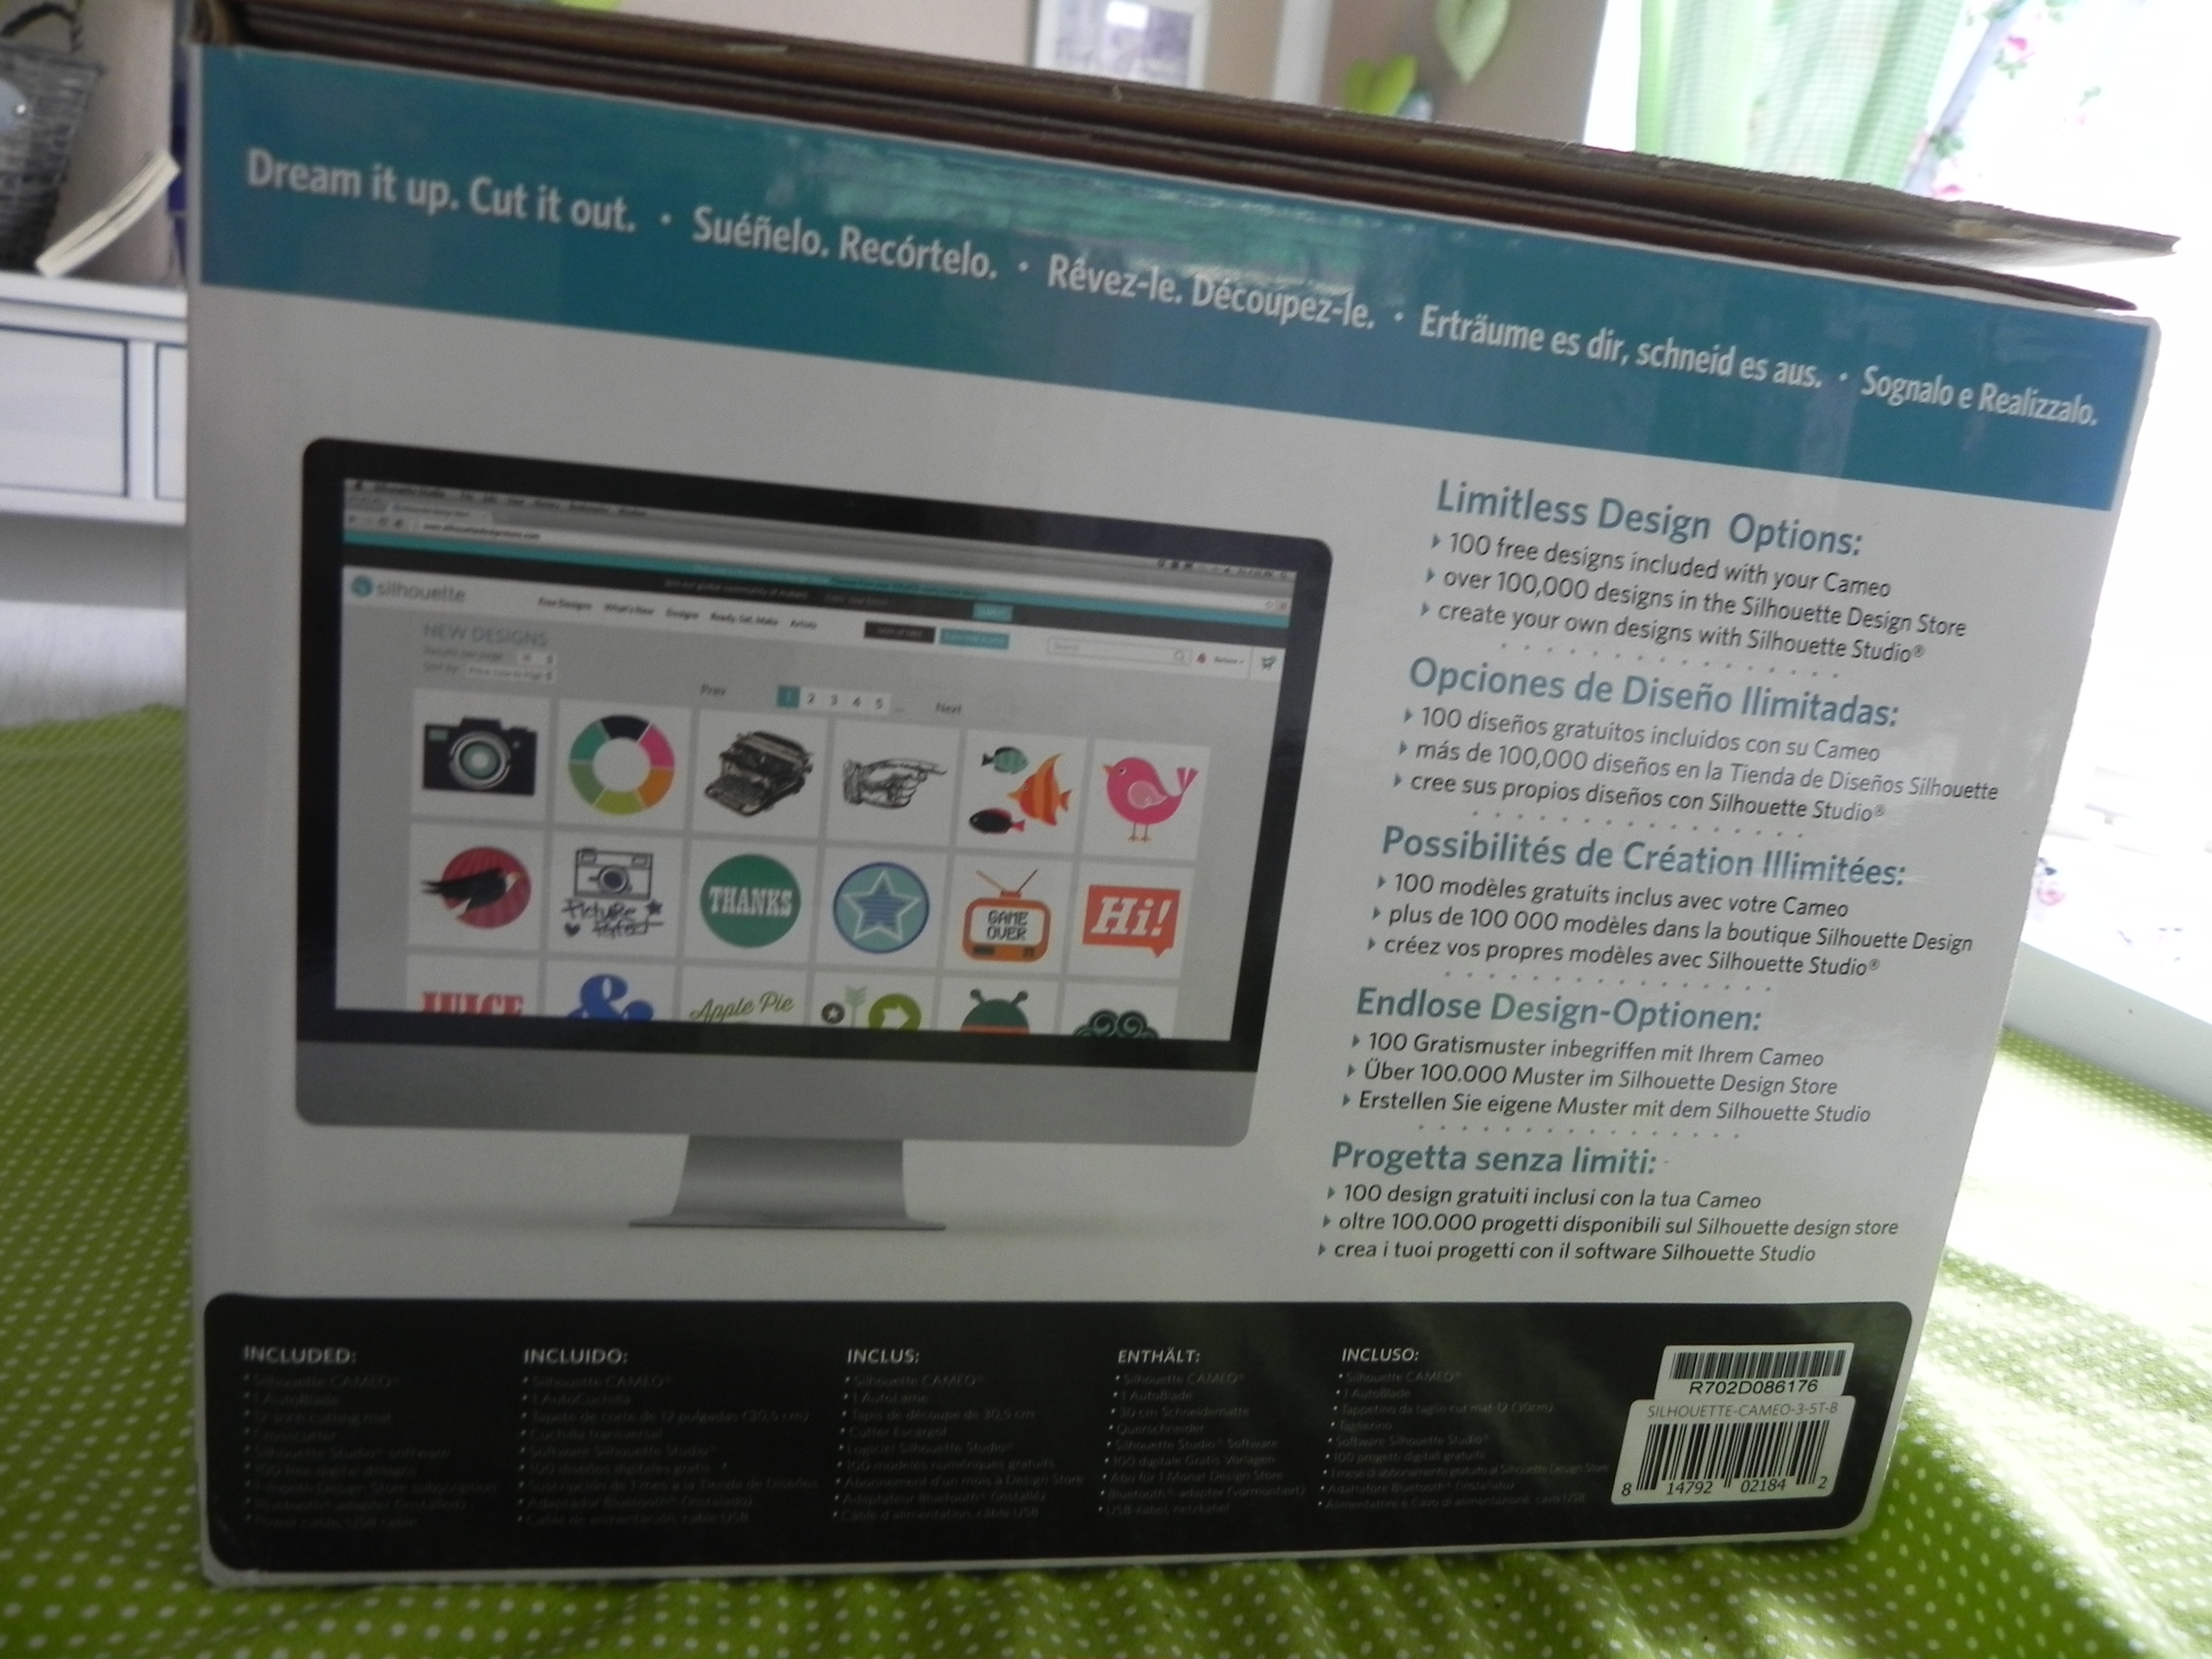
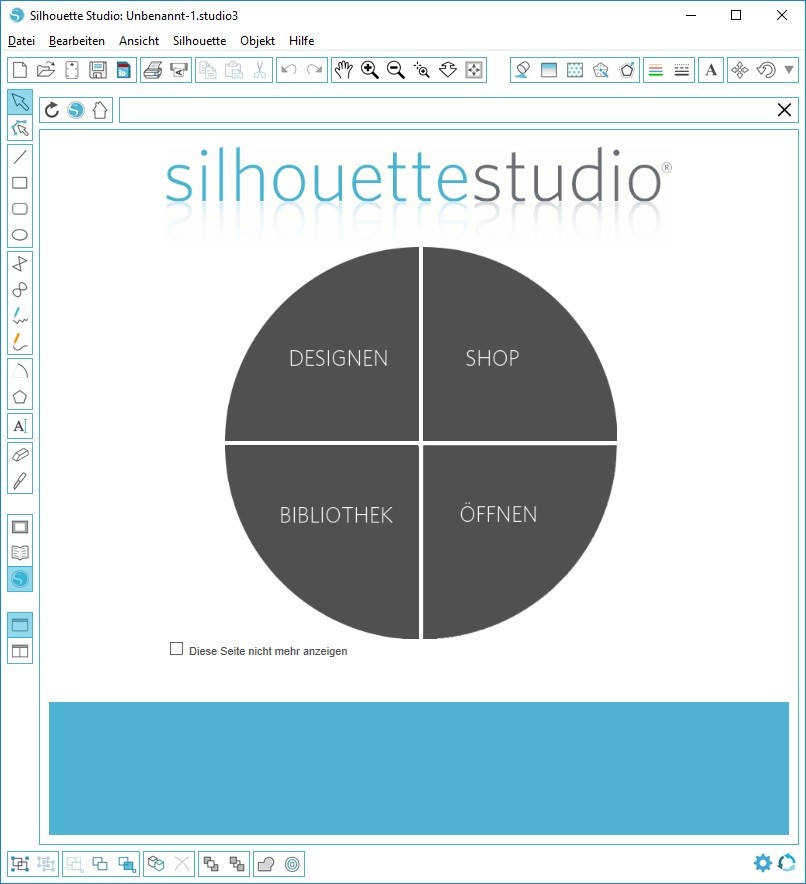
269,95 € (as of 20. June 2026 16:30 GMT +02:00 - More infoProduct prices and availability are accurate as of the date/time indicated and are subject to change. Any price and availability information displayed on [relevant Amazon Site(s), as applicable] at the time of purchase will apply to the purchase of this product.)The product also includes free software. The software Silhouette Studio is available in different editions.
Not surprisingly, the pictures were taken with the 3 version of Silhouette Studio, version 4 has changed the user interface.
For beginners and people who want to test the software without a plotter, there is the free Basic Edition. You can import and convert fonts and images in JPG, BMP and PNG format, as well as create and plot your own designs.
Then comes the Designer Edition, which is subject to a fee. Here the basic features are extended by the following.
- Import of SVG, GSD and DSX files – Vector data
- Advanced knife settings
- Layers Function
- Box, shadows, extended eraser and knife functions and much more.
There is also a Designer + Edition which will be extended by additional file formats.
The Business Edition is the final product. All features of the previous versions are combined here. In addition, you can use this version to work with multiple plotters, repeat jobs without a stop and import Adobe Illustrator AI or CorelDraw data.
We are still working in the Basic Edition and can handle all our tasks with it.
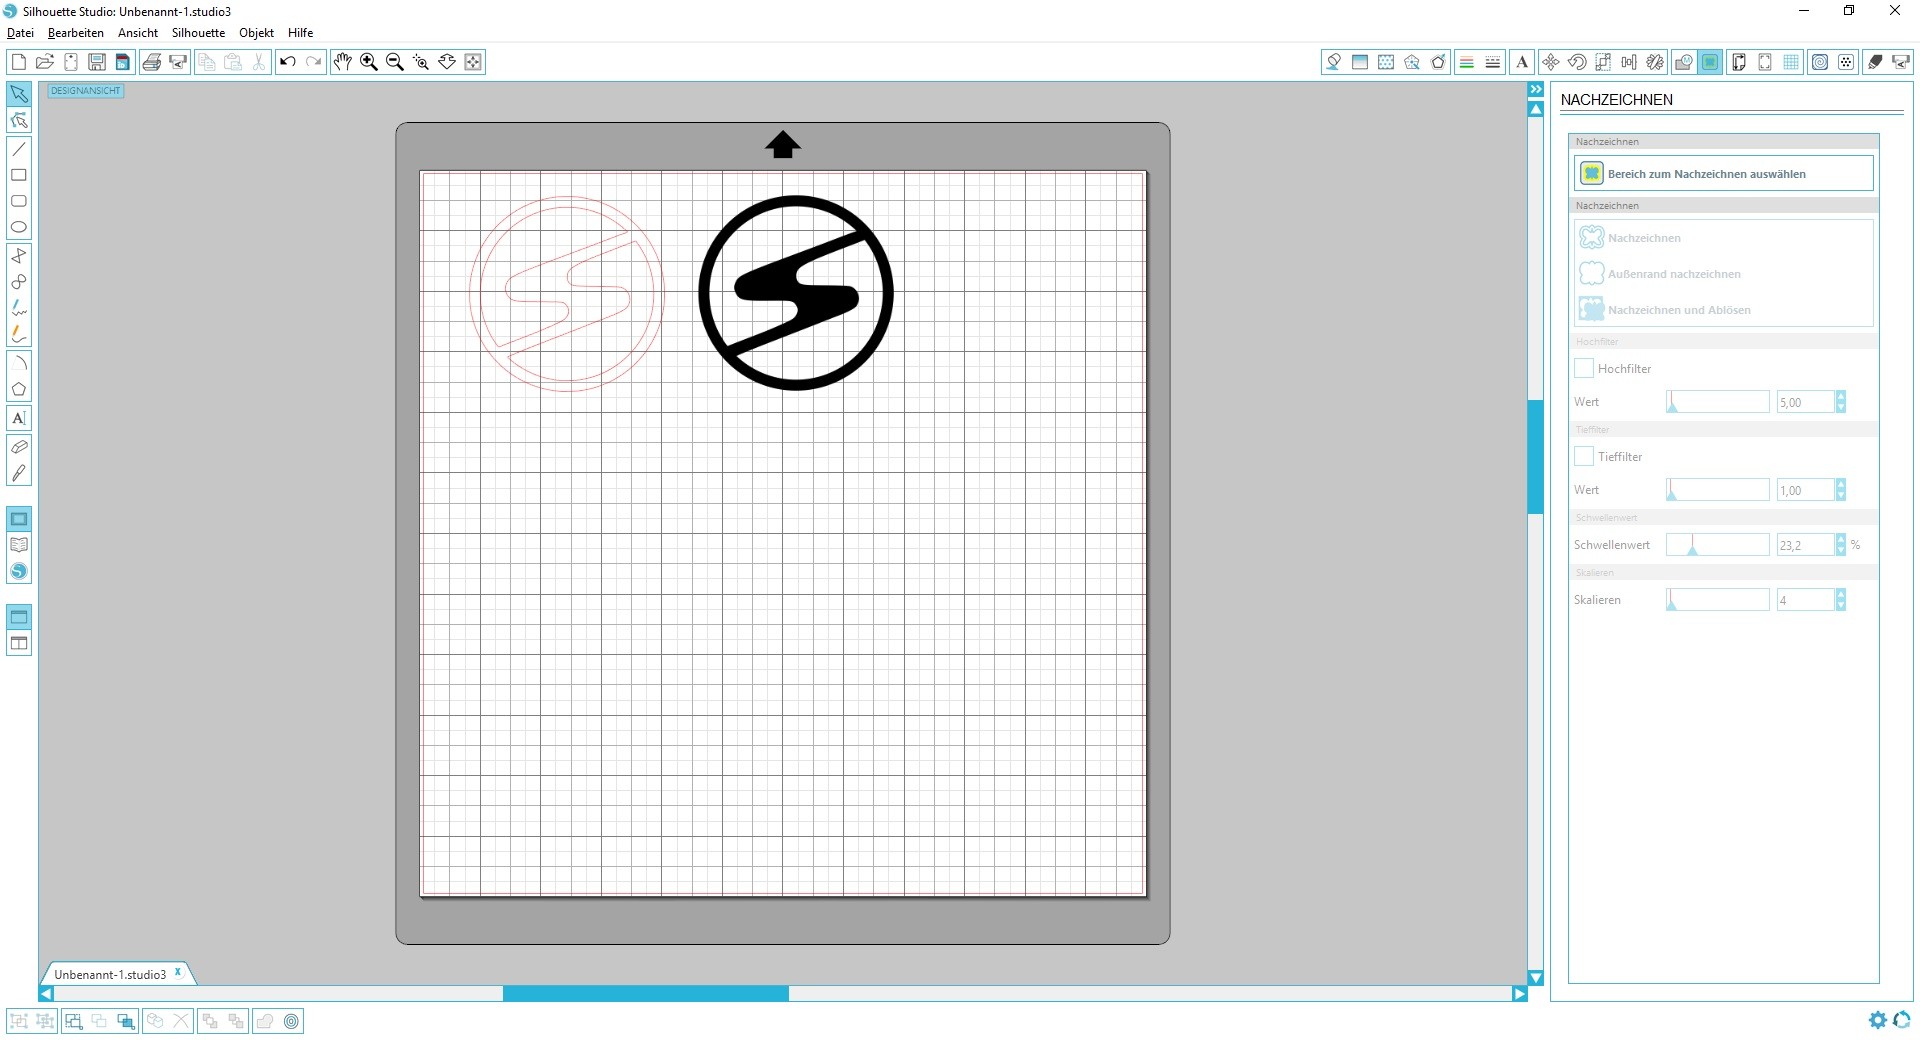
In the software itself I imported a logo in JPG format and then defined the outer edges of the logo for the plotter as cutting edges by means of a sign function. It didn’t take five minutes. Then adjust the knife settings and you’re done.
It’s that simple with finished pictures.
The first Plotting job.
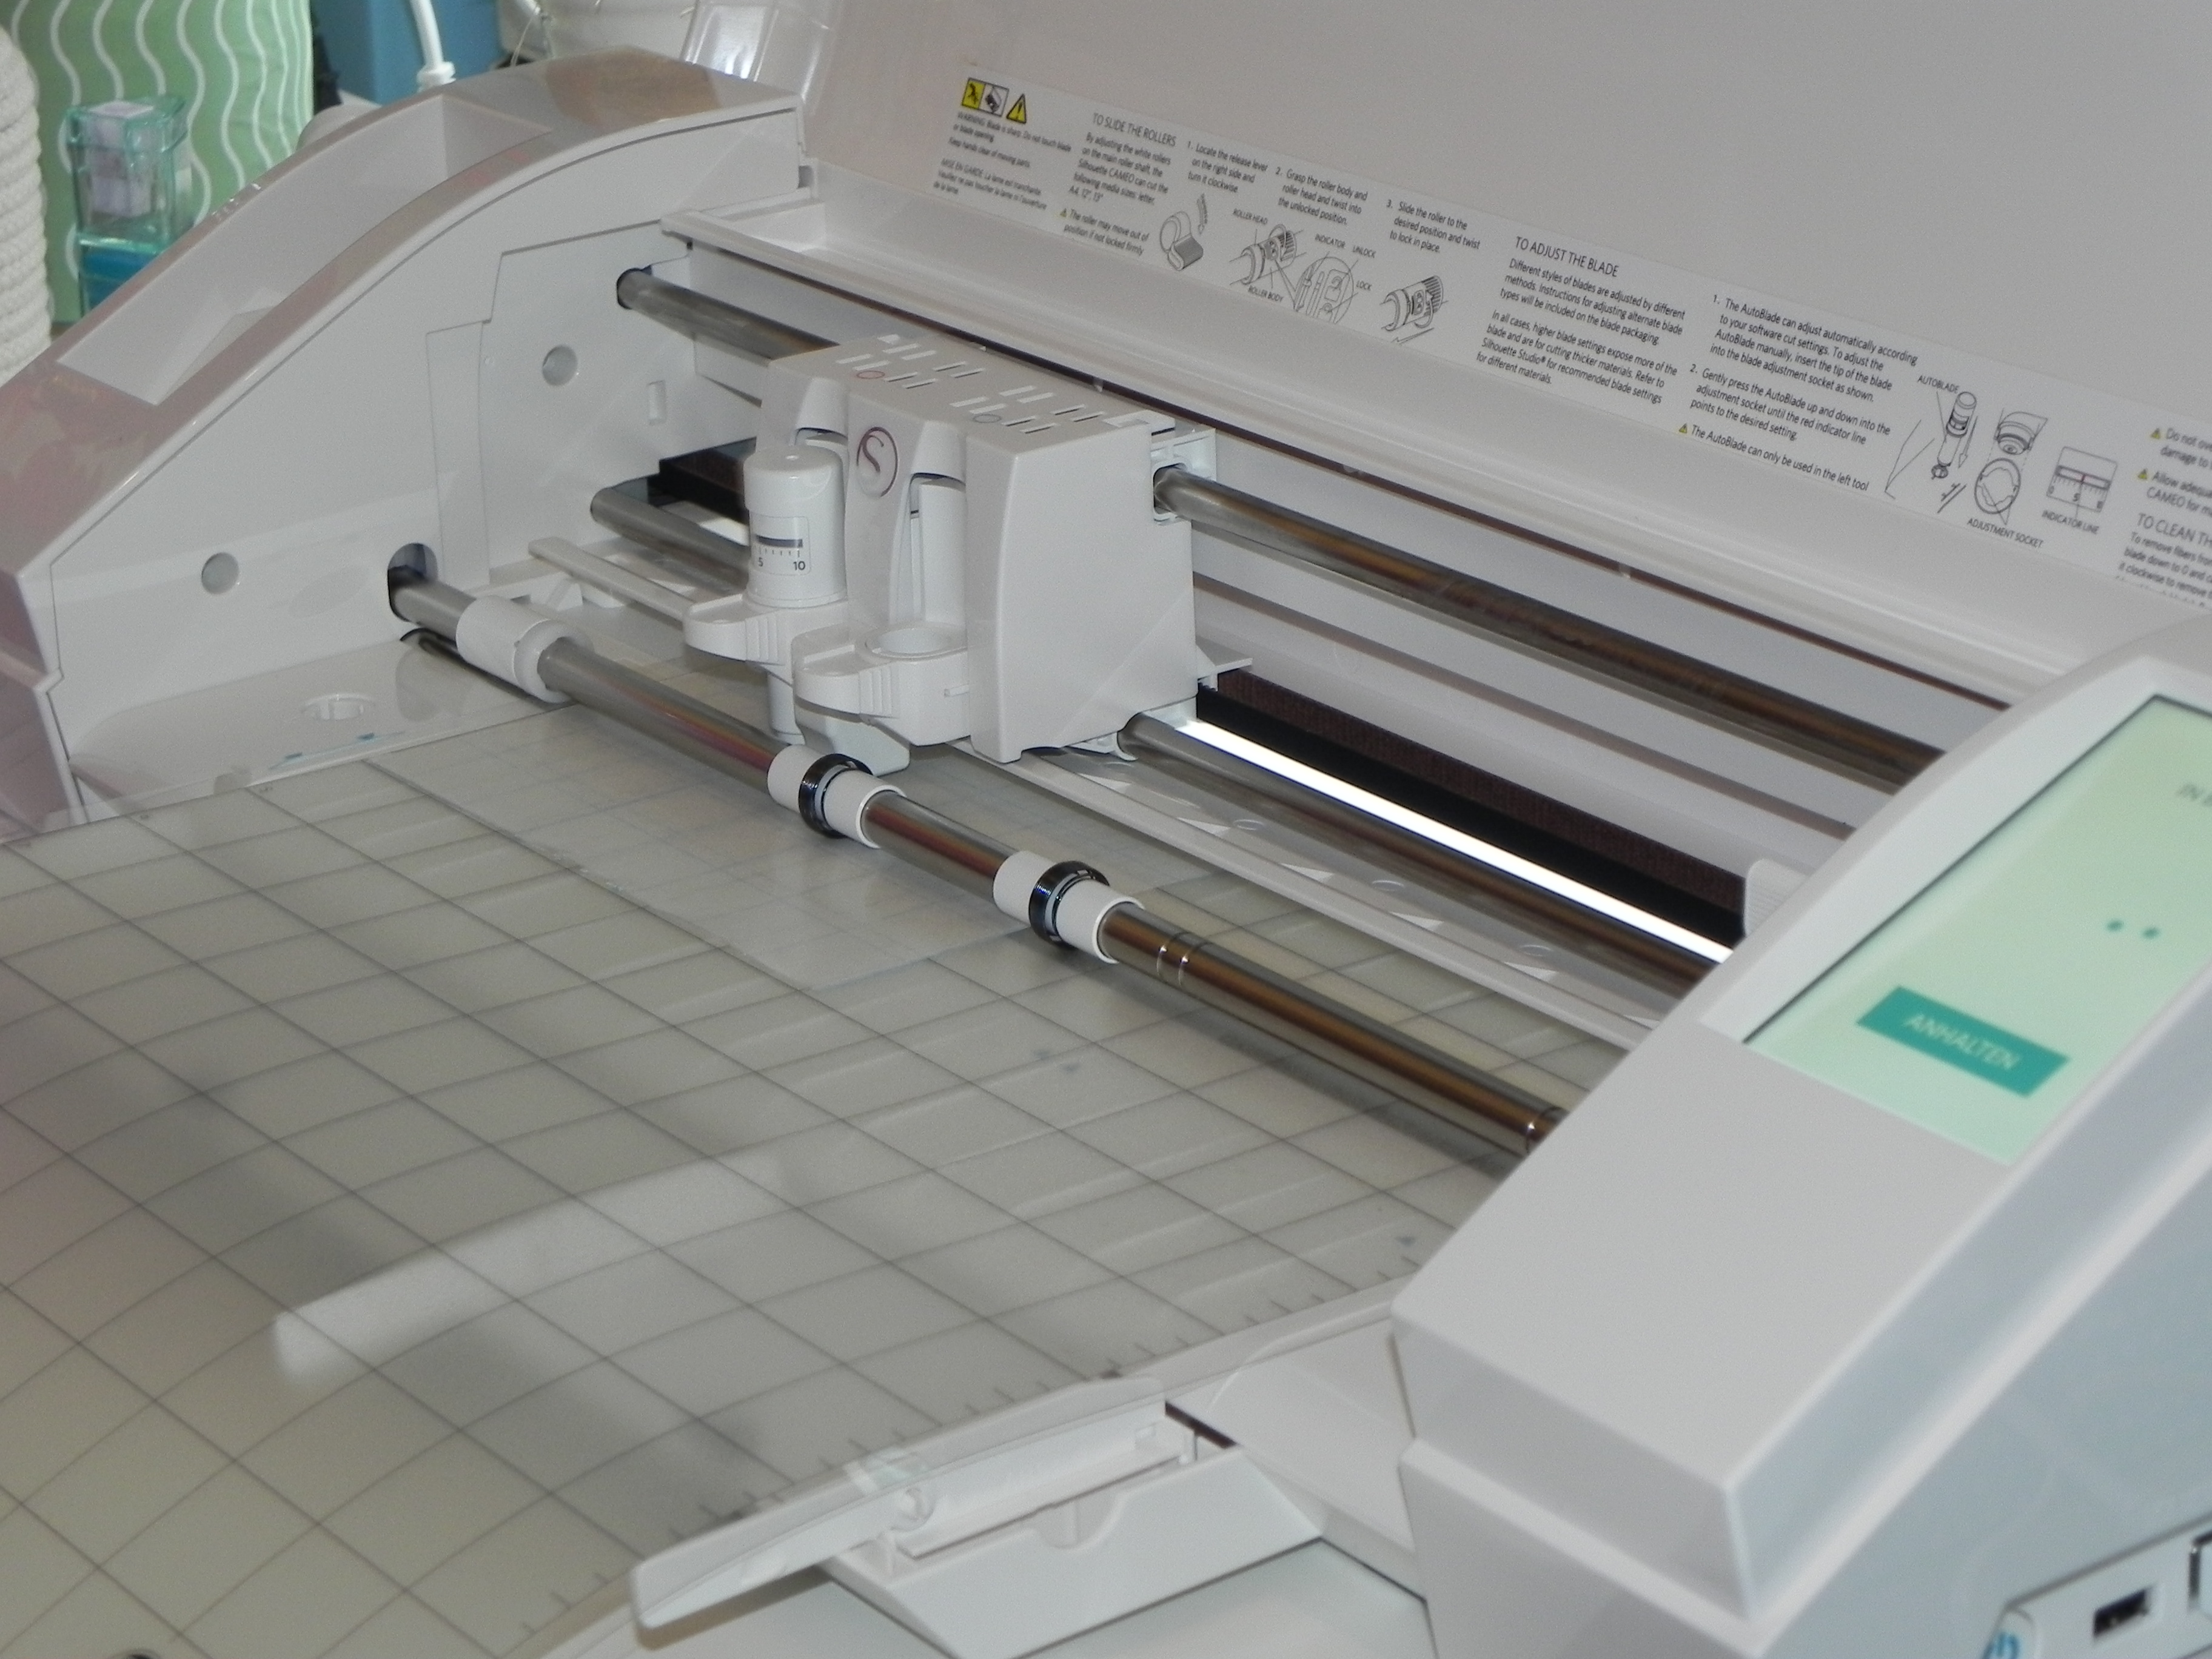
Now it’s time to plot. The adhesive cutting mat was included. The adhesive power of this mat is really strong! We had to dampen the adhesive force with a cloth, otherwise my masking film would have come down by force.
On this mat I glued a piece of my masking foil from my airbrush utensils and then clamped the mat in the plotter.
Then we went directly to plotting with the Silhouette* Cameo 3.
The device makes some weird squeaking noises when driving back and forth. That’s normal. After a few seconds my first cut was finished.

Conclusion
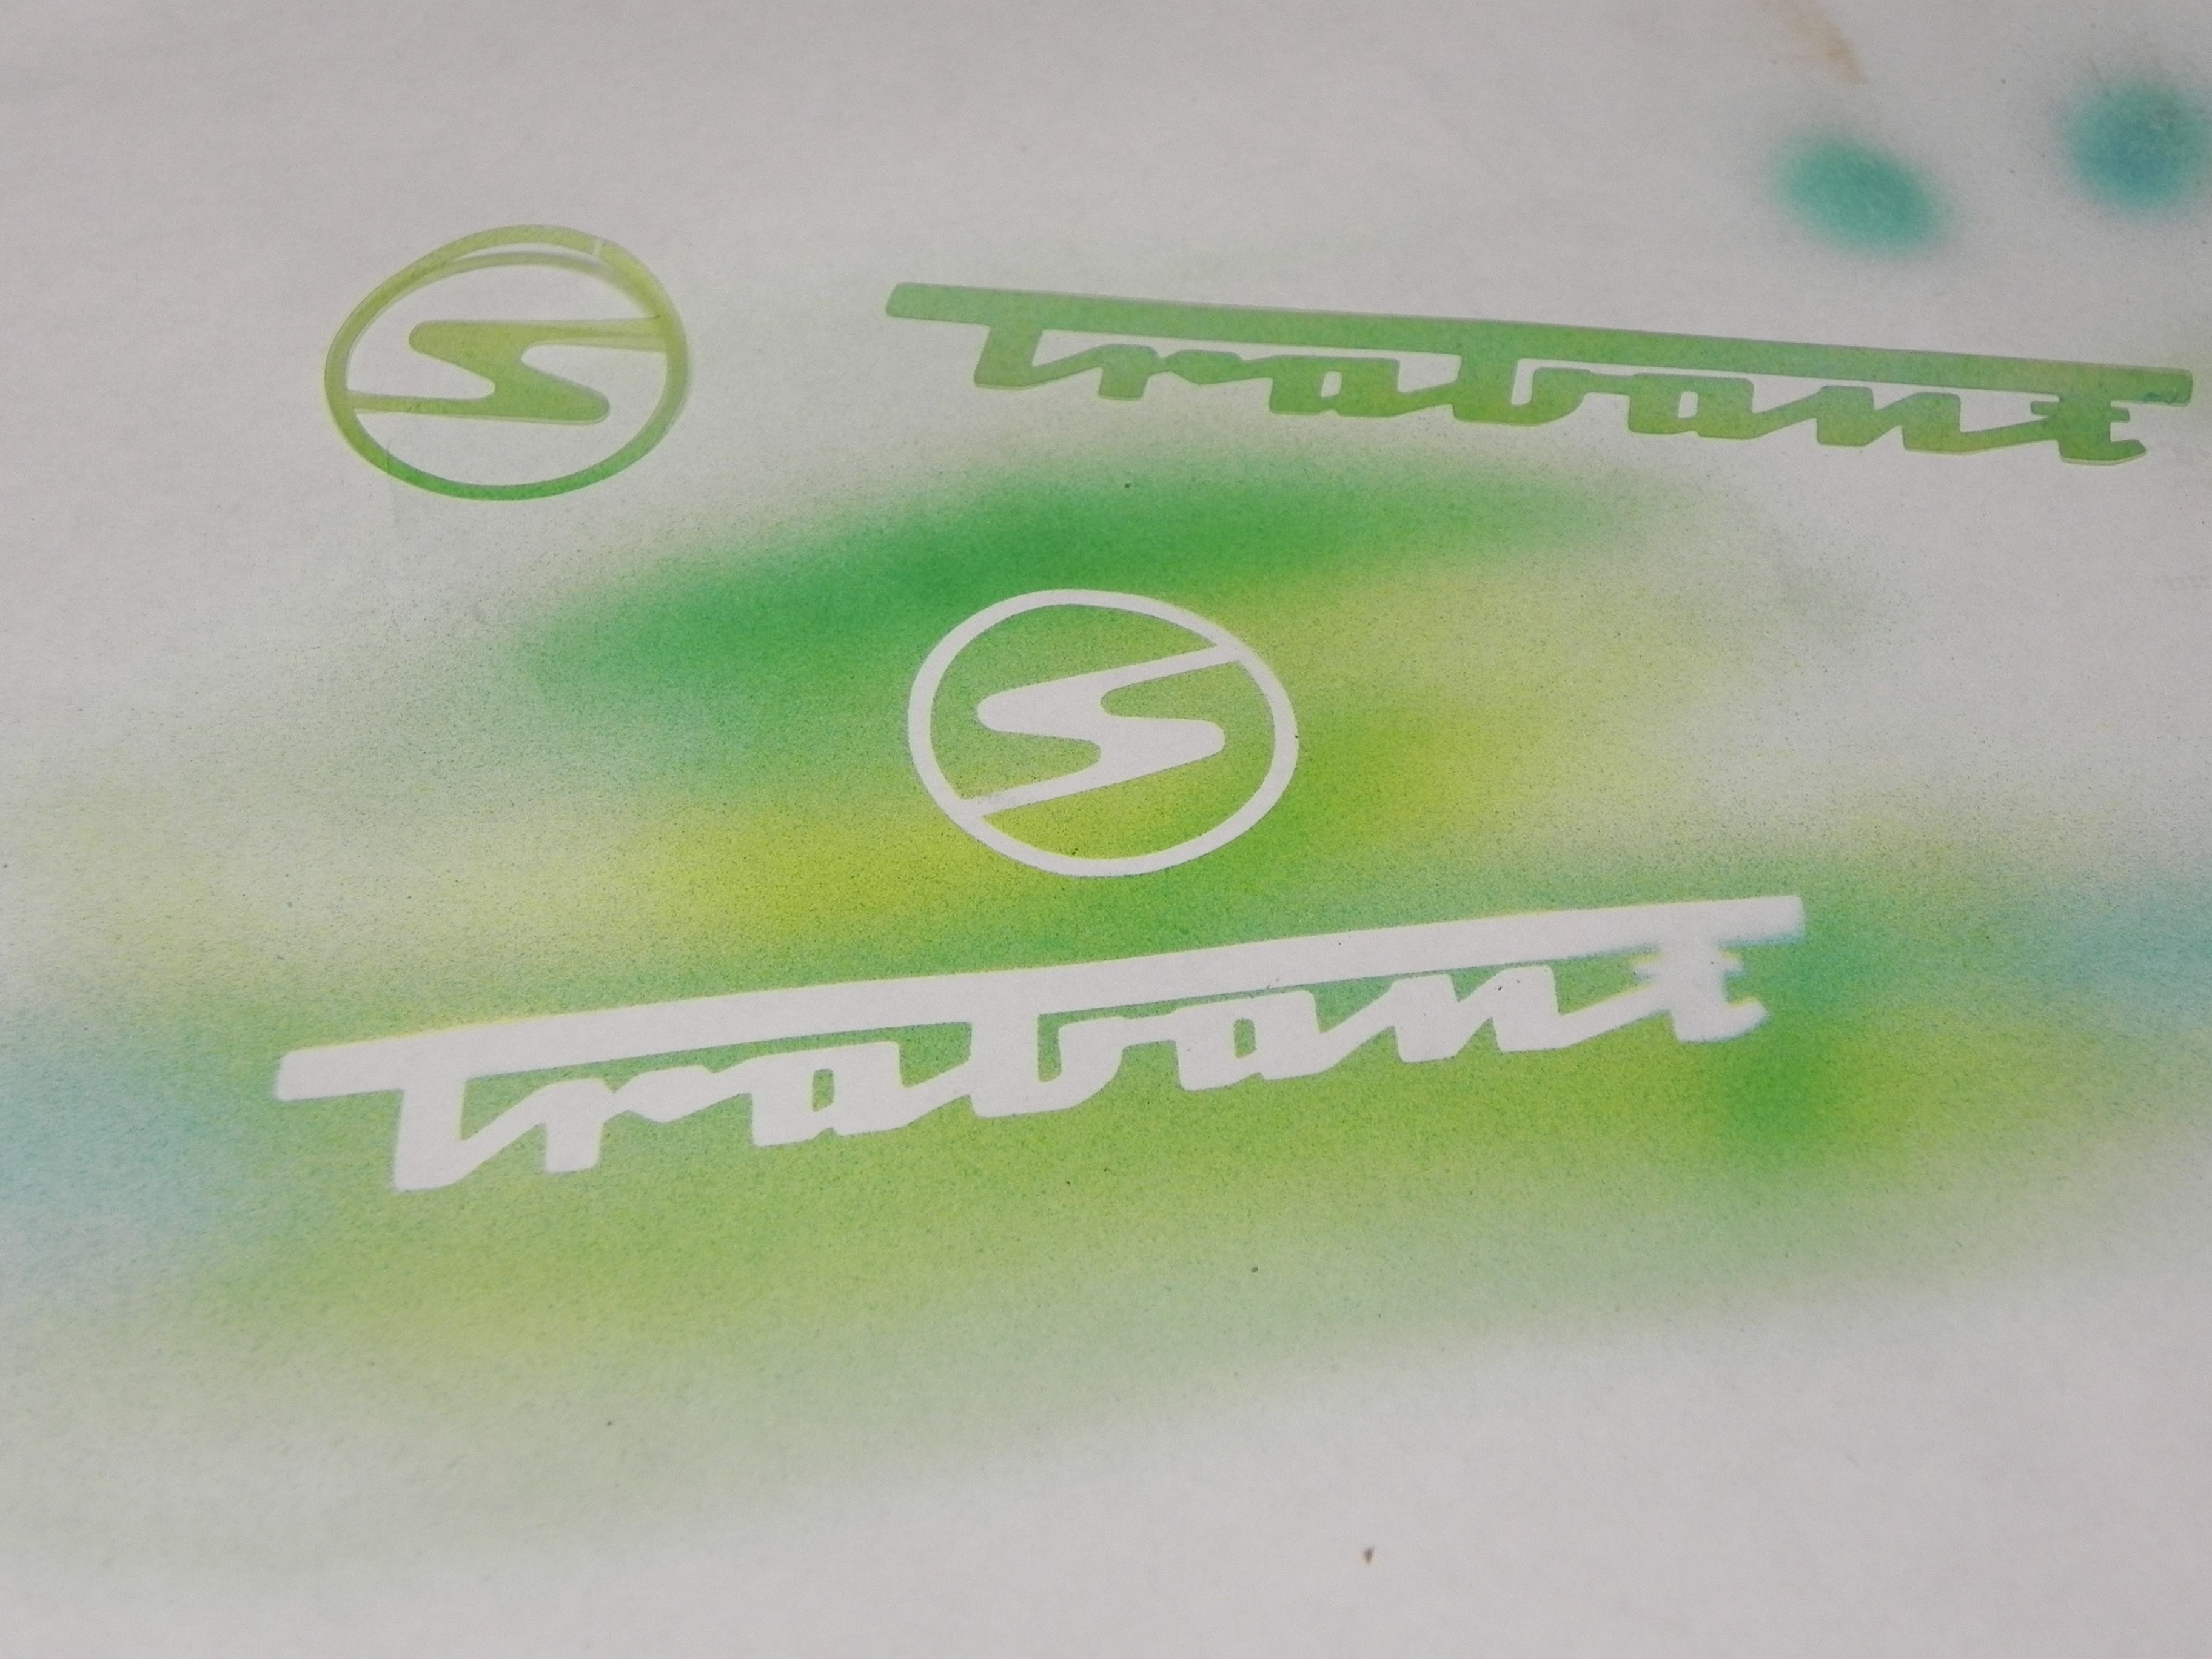
What am I supposed to say here? WOW – My first cut with a 2 cm wide logo was more than positive. The edges were cut correctly and neatly. I couldn’t have done that with the scalpel. The device has already convinced me here.
We cut vinyl foil for stickers, which also went wonderfully and resulted in a clean result.
The vinyl film was directly from Silhouette* – available as a set with a weeding hook.
We have also tested film from the DIY store. Depending on the material, everything goes more or less well. The cutting pattern has always been very clean, but if the vinyl foil is too thin, you can also cut through the backing paper.
How much does all this fun cost? You have to expect an investment of about 300 EUR for the Silhouette Cameo 3! That sounds a bit much at first, but as already explained, you can do a lot with this device.
For all USA travelers or residents I can recommend the following. Go to a Hobby Lobby or Michaels Store. Depending on the state, these transactions may take place. These are huge stores for all hobbies and decorative items. These also often carry original Silhouette* articles and depending on the EUR/USD price you can make real bargains and add some knives or other accessories for the plotter.
Do you have a plotter or are you thinking of getting one?
What do you do with your plotter?
Do you have any questions or suggestions?
I look forward to your comments.
Leave a Reply